How to add, edit or delete a user in my business account
A Role must be created before adding, editing, or deleting a user. To create a Role, review our article; How to create a Role.
To manage sub users, review our article; How to Manage Sub Users.
This article covers the following topics:
Mobile
If you're using a mobile device, follow the steps below. For computers, go to the desktop steps
How to Add a User
Important: A Role must be created (if there isn't one) before adding a user. How to create a Role
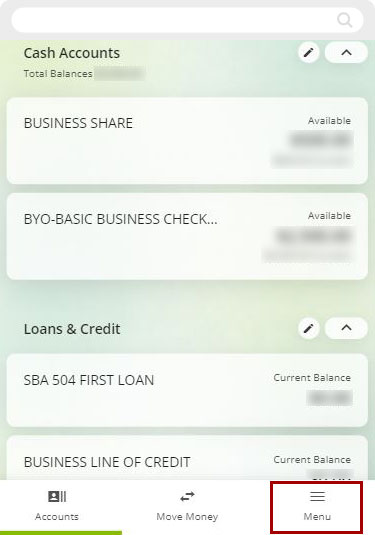
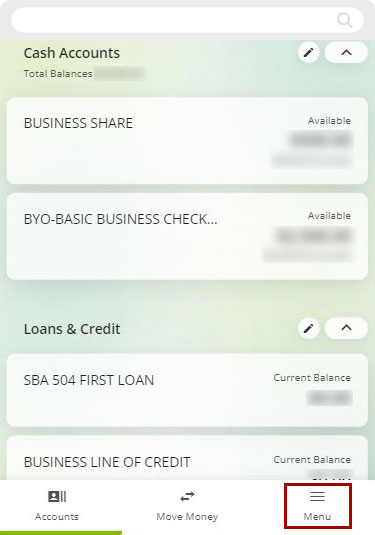
Tap Menu at the bottom right of the screen.
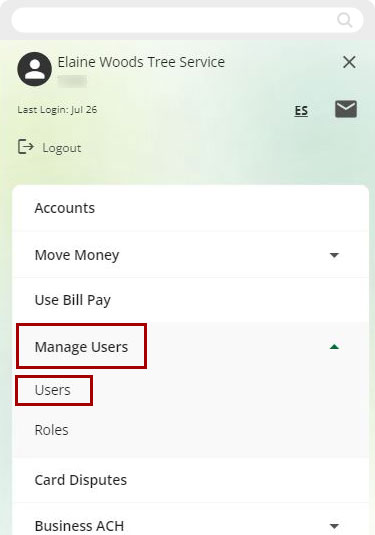
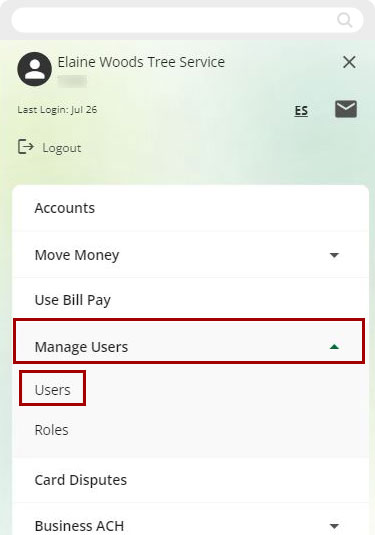
Select Manage Users, then Users.
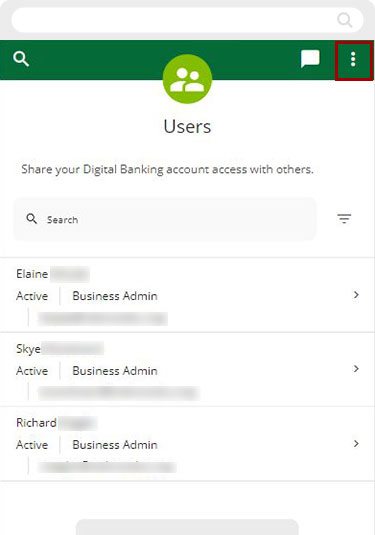
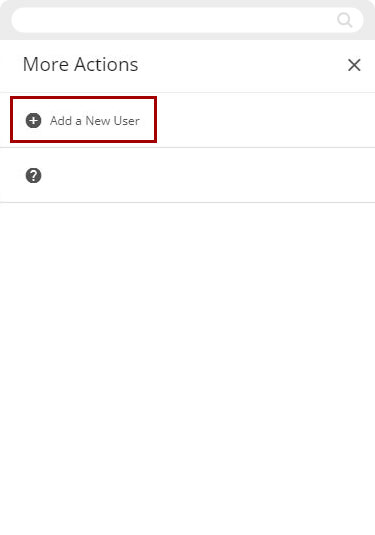
Tap the three dots in the upper right of the screen.
Select Add a New User.
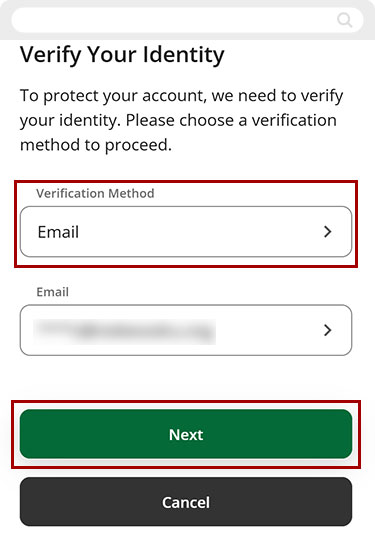
Select a Verification Method for the security validation, tap Next.
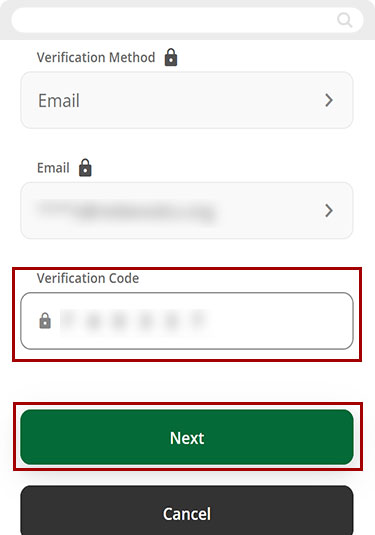
Enter the Verification Code, tap Next.
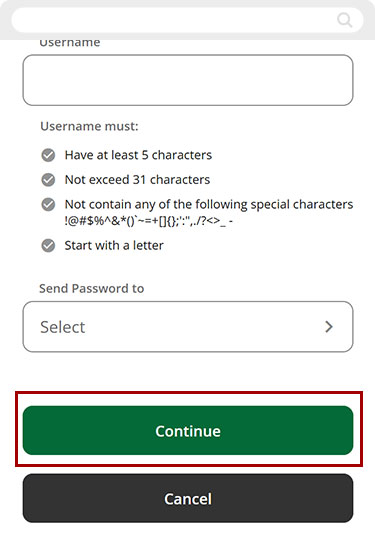
Enter Users information into the fields. Tap Continue.
Important: Name, last name, last 5 digits of SSN/ITIN, and date of birth are required by US Office of Foreign Assets Control (OFAC).
Important: If a sub-user wishes to use an office phone instead of a valid mobile number, a verified and secure email address is required.
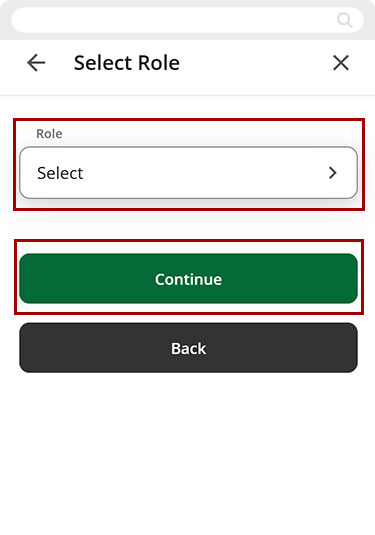
Next, assign the desired Role from the drop-down menu. Tap Continue.
Note: If no role exists, you will need to create one first to proceed. How to create a Role
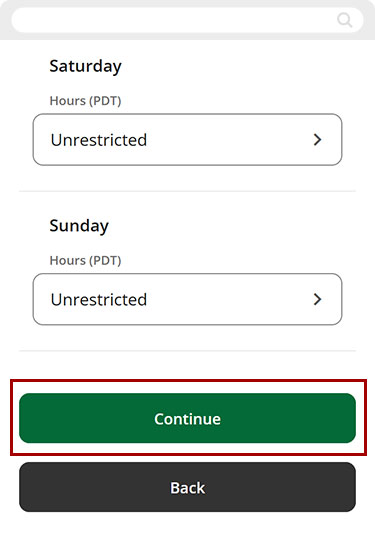
Select your option from the drop-down menu for each day to determine what time and days the user will be able to access digital banking.
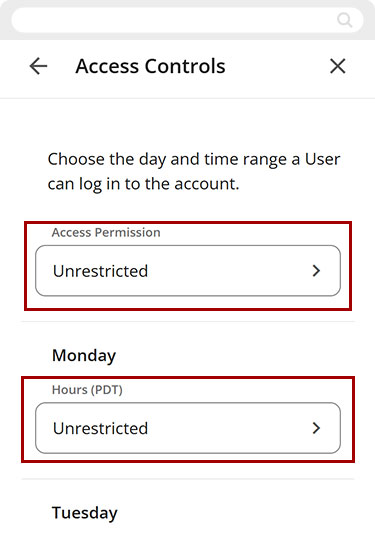
Tap Continue.
Review all the entered information and selections. When ready, tap Confirm to complete the New User process.
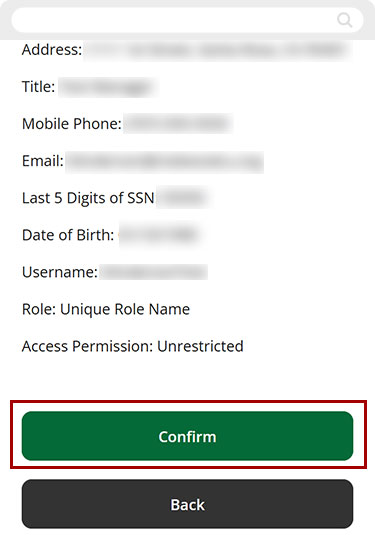
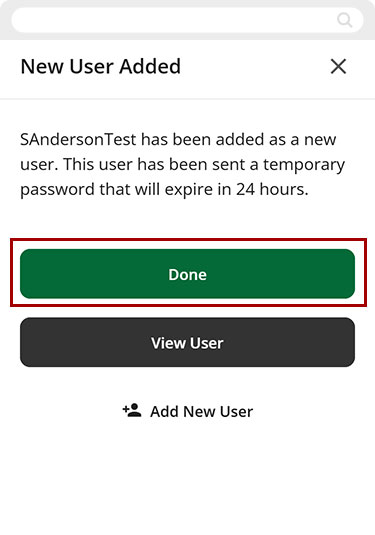
A new user access has been created. Tap Done and return to the dashboard.
Important: You will need to share the username you just created with the sub-user. The sub-user will receive their password via the channel you selected, but for security reasons, no username will be provided.
How to Edit a User
Tap Menu at the bottom right of the screen.
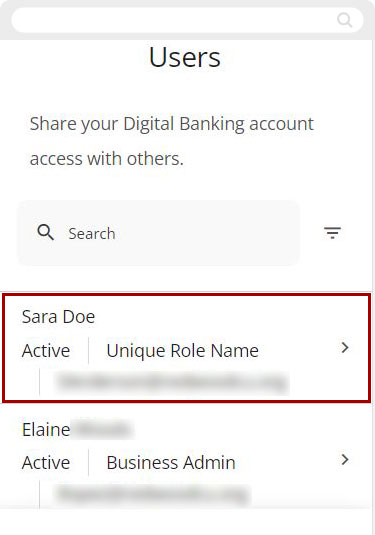
Tap Manage Users, then Users.
Tap the User you would like to edit.

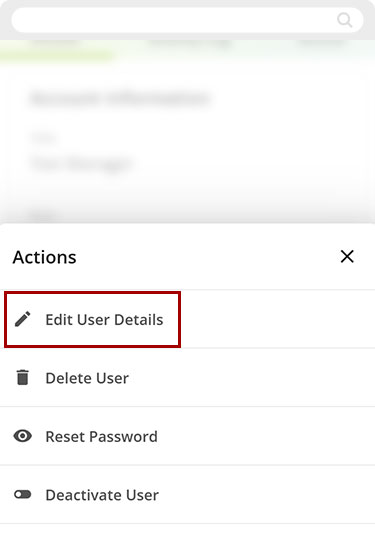
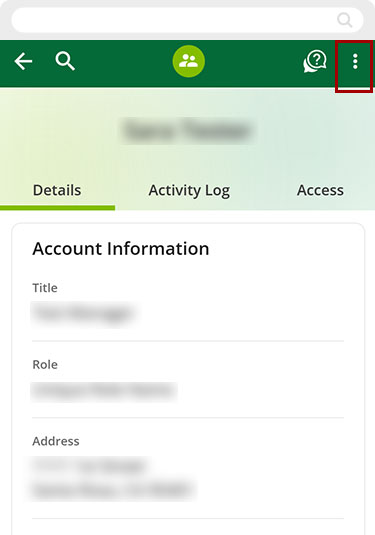
To edit the user account details, select the three-dot menu, then Edit User Details. To edit the user's access to the account, select Access.
.jpg)
Tap Edit User Details.
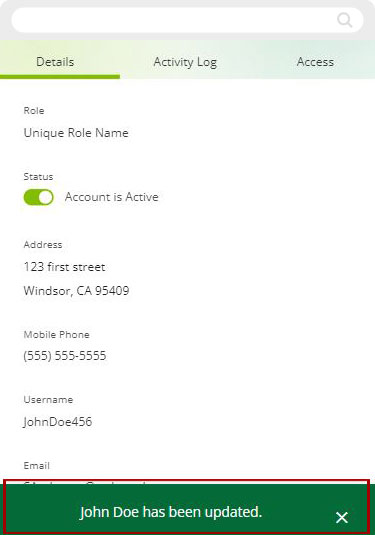
When edits are completed, tap Save.
.jpg)
Select a Verification Method for the security validation, tap Next.
Enter the Verification Code, tap Next.
A green banner will appear confirming the changes were saved.
How to Delete a User
Tap Menu at the bottom right of the screen.
Tap Manage Users, then tap Users.

Tap the user you would like to delete.
In the upper right corner of the page tap the three dots.
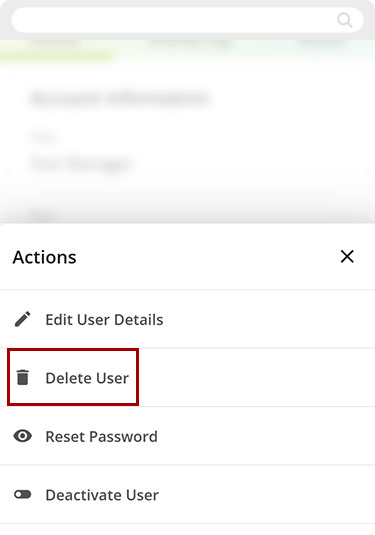
Tap Delete User.
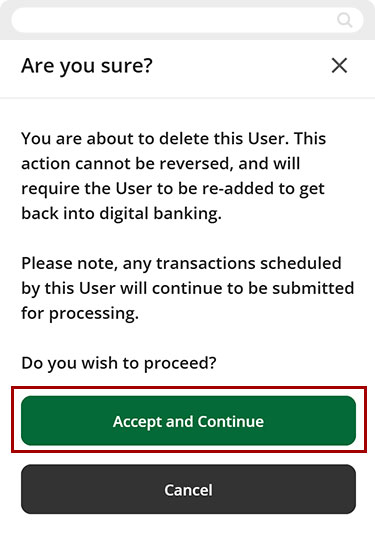
A confirmation screen will ask if you are sure you want to permanently remove this sub-user. If ready, tap Accept and Continue.
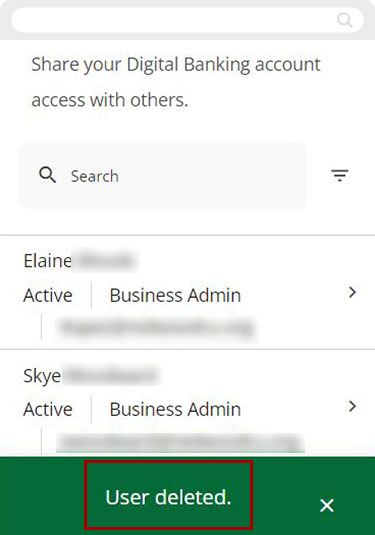
A banner will appear confirming the deletion of a User.
Desktop
If you're using a computer, follow the steps below. For mobile devices, go to the mobile steps
How to Add a User
Important: A Role must be created (if there isn't one) before adding a user. How to create a Role
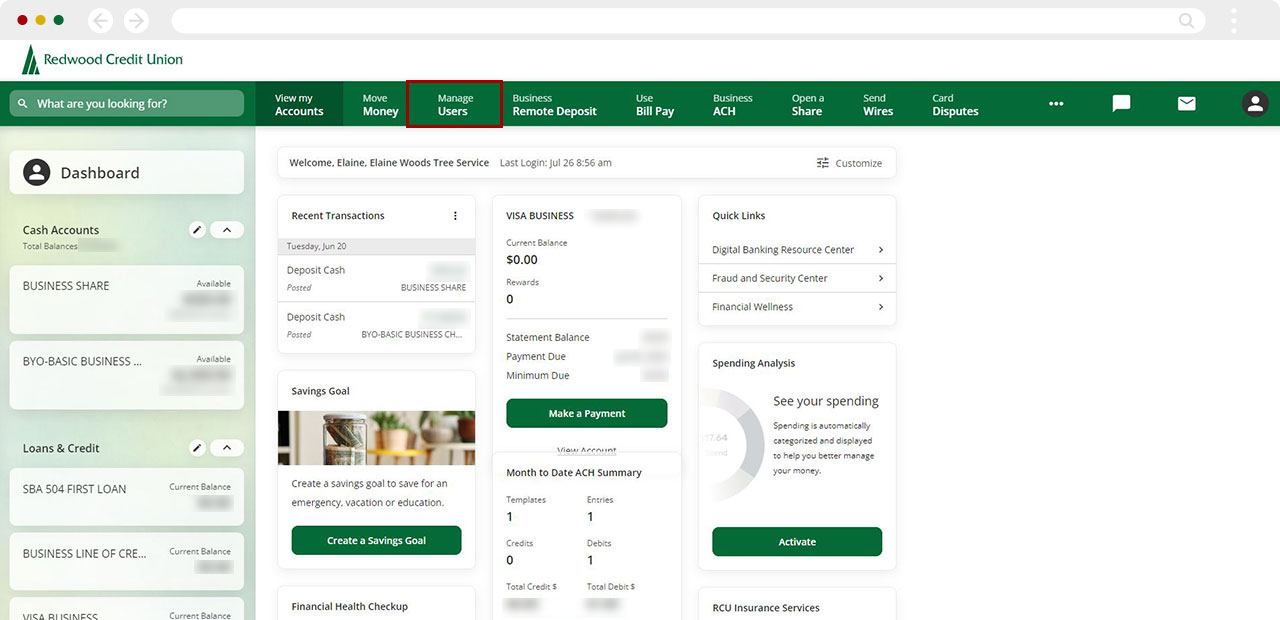
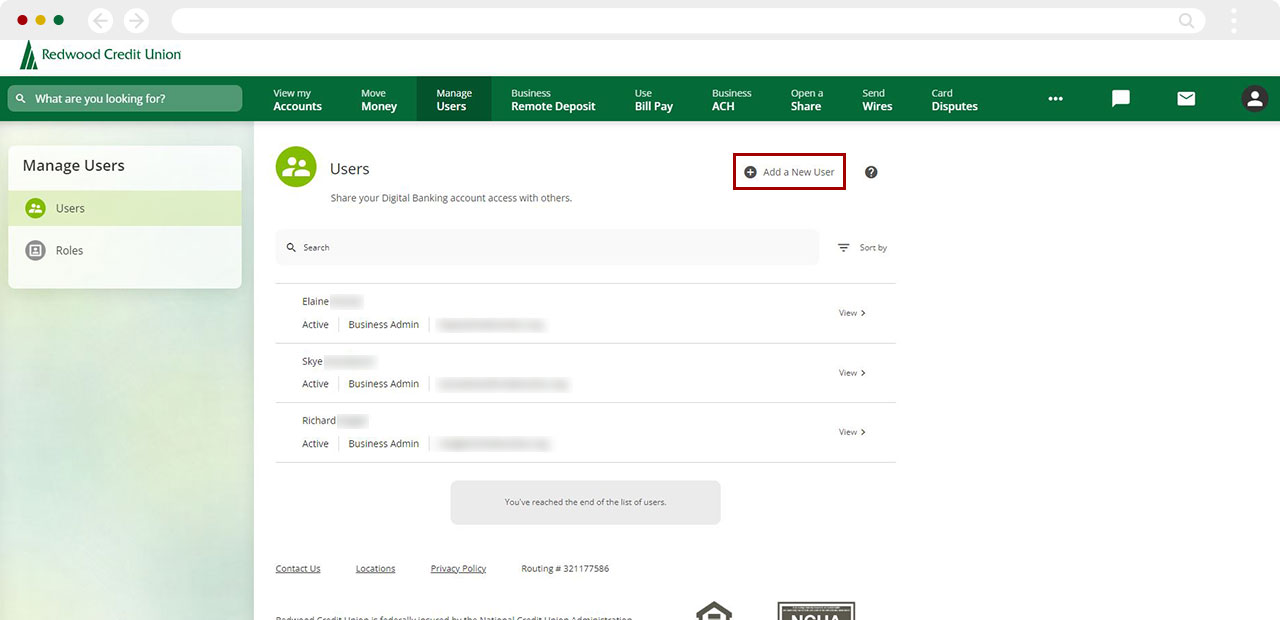
Along the top menu click Manage Users.
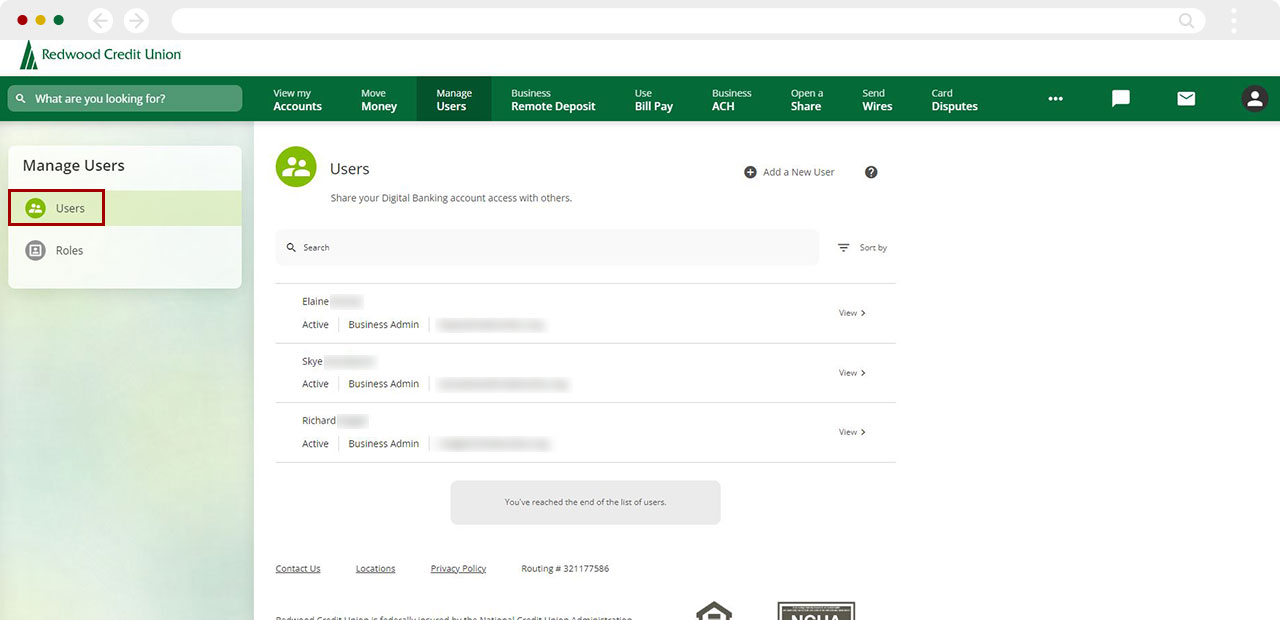
From the left menu, select Users.
Click Add a New User in the upper right hand of the screen.
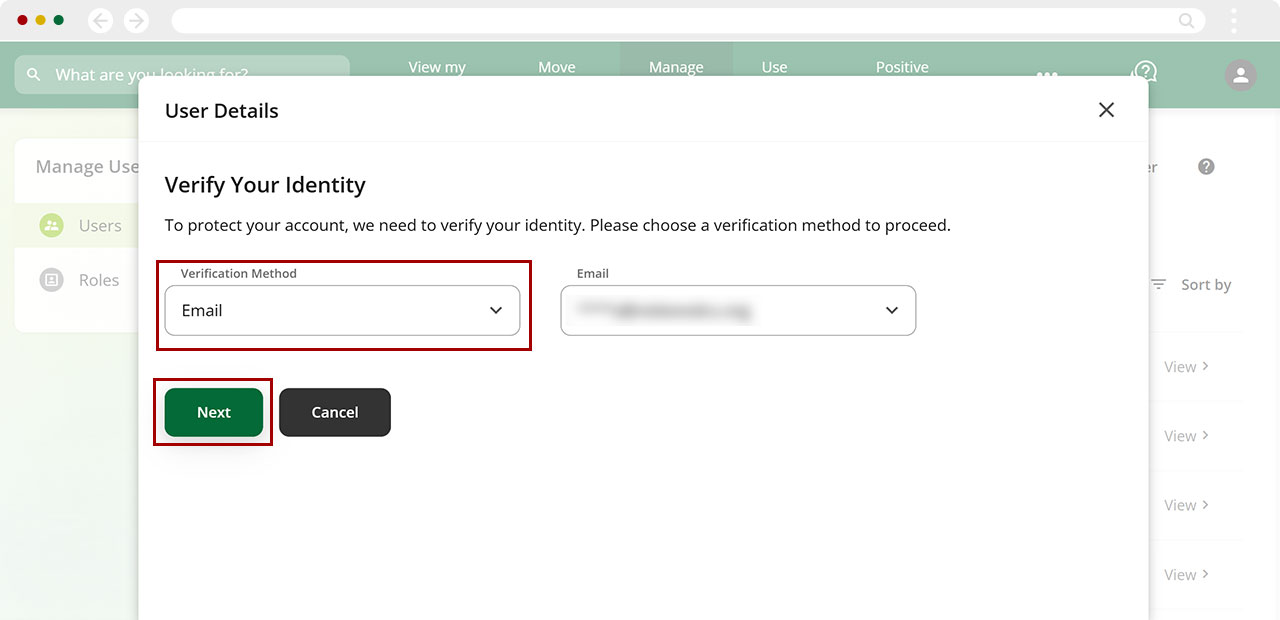
Select a Verification Method for the security validation, tap Next.
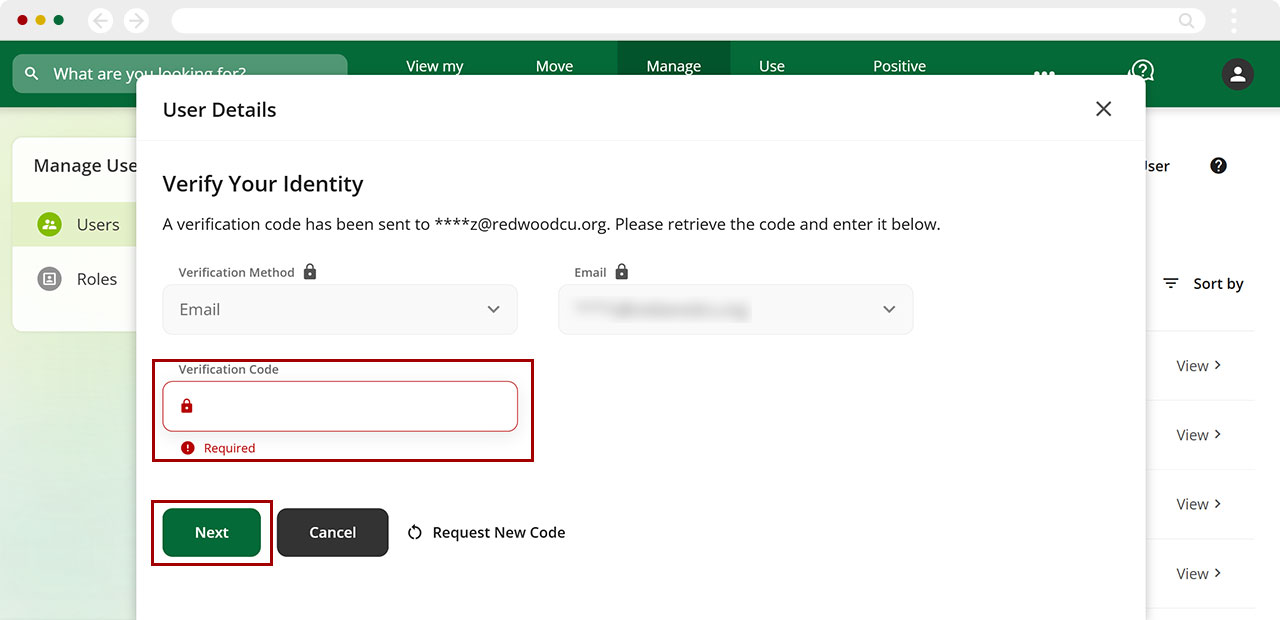
Enter the Verification Code, click Next.
Enter Users information into the fields. When finished click Continue.
Important: Name, last name, last 5 digits of SSN/ITIN, and date of birth are required by US Office of Foreign Assets Control (OFAC)
Important: If a sub-user wishes to use an office phone instead of a valid mobile number, a verified and secure email address is required.

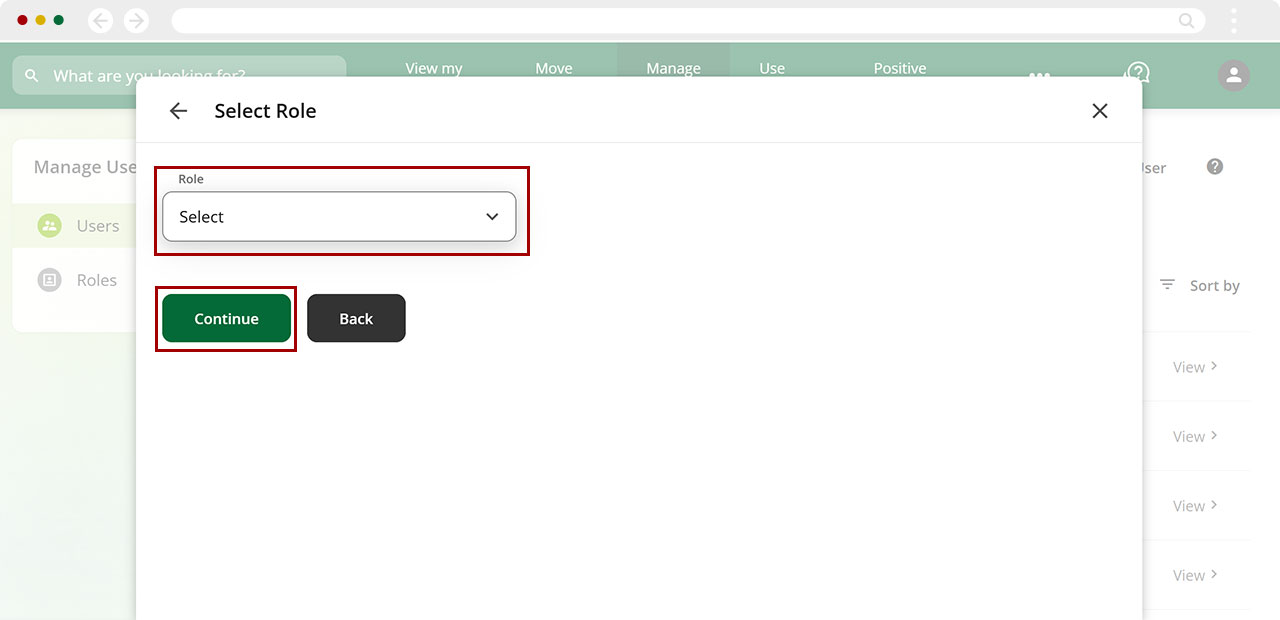
Assign the desired Role from the drop-down menu. Then click Continue.
Note: If no role exists, you will need to create one first to proceed. How to create a Role
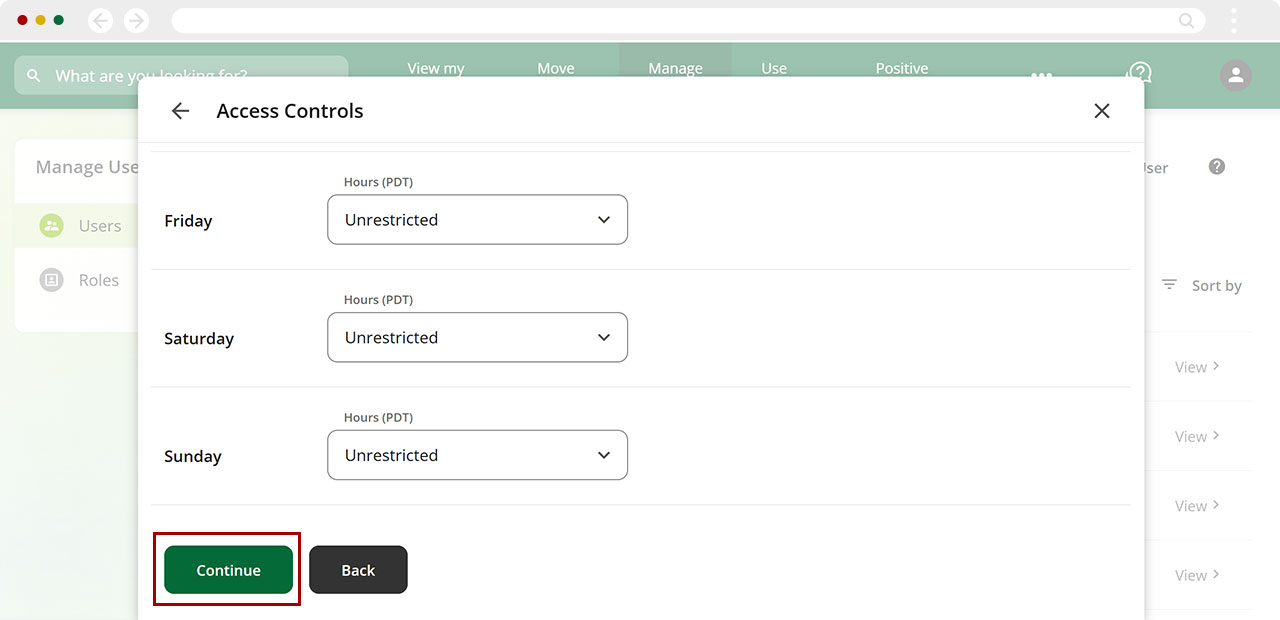
Select your option from the drop-down menu for each day to determine what time and days the user will be able to access digital banking.
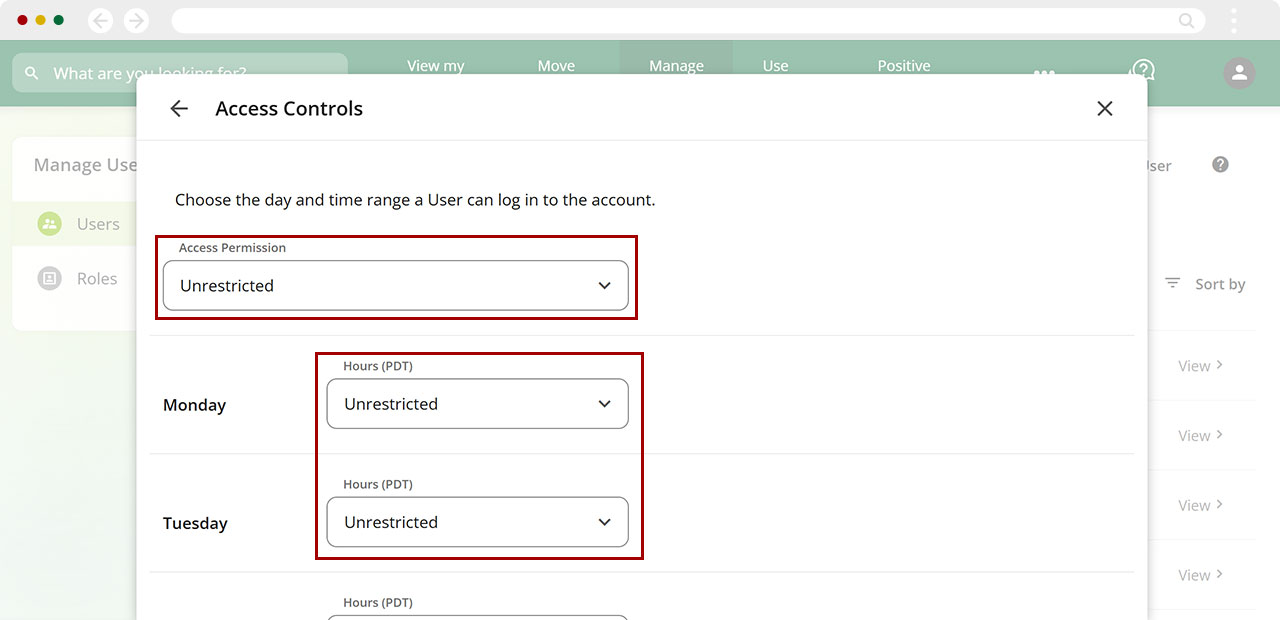
Click Continue.
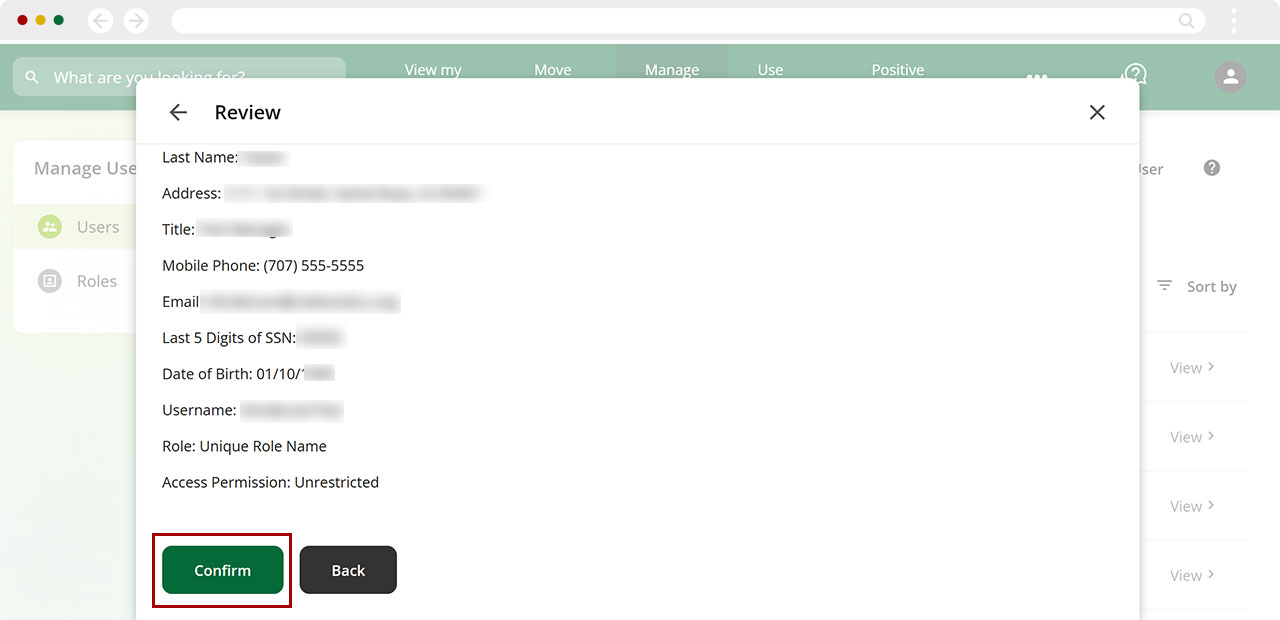
Review all the entered information and selections. When ready, click Confirm to complete the New User process.
Important: You will need to share the username you just created with the sub-user. The sub-user will receive their password via the channel you selected, but for security reasons, no username will be provided.
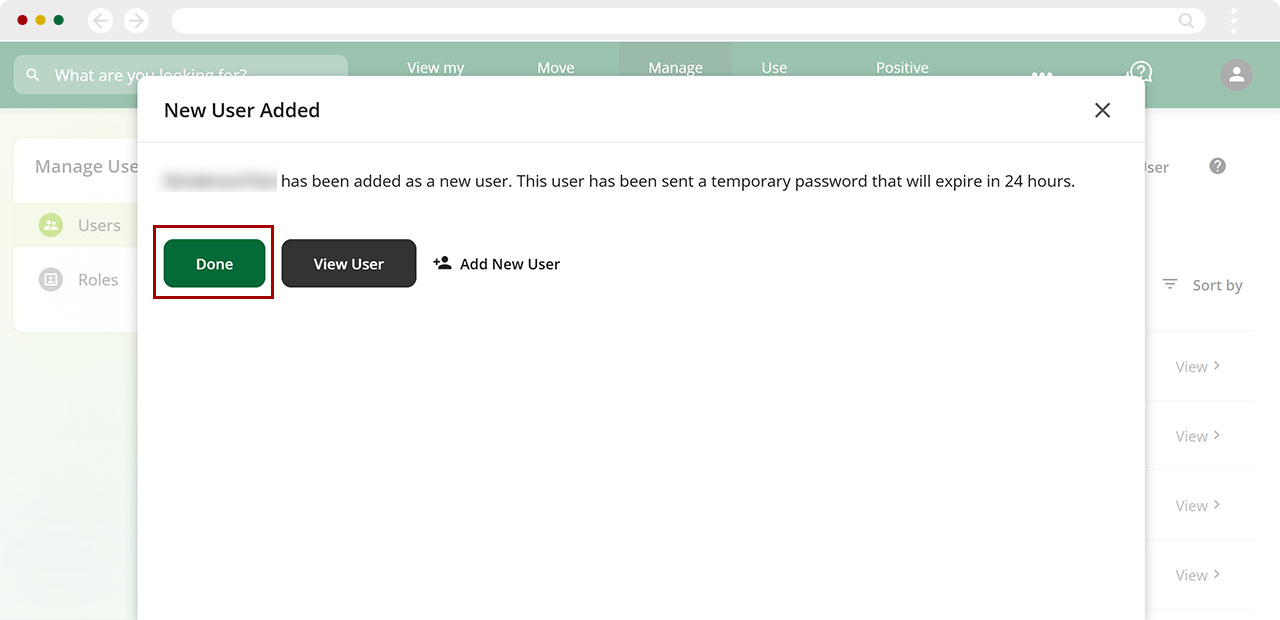
A new user access has been created. Tap Done and return to the dashboard.
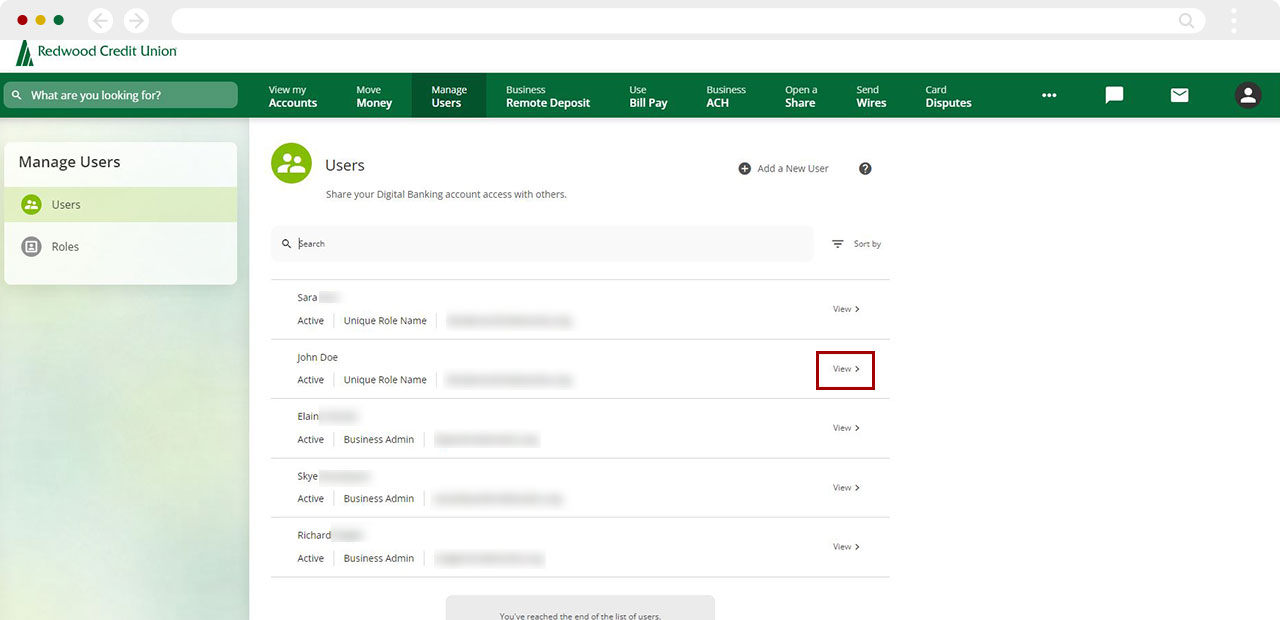
Select Users on the left panel.
Click View next to the user you would like to edit.
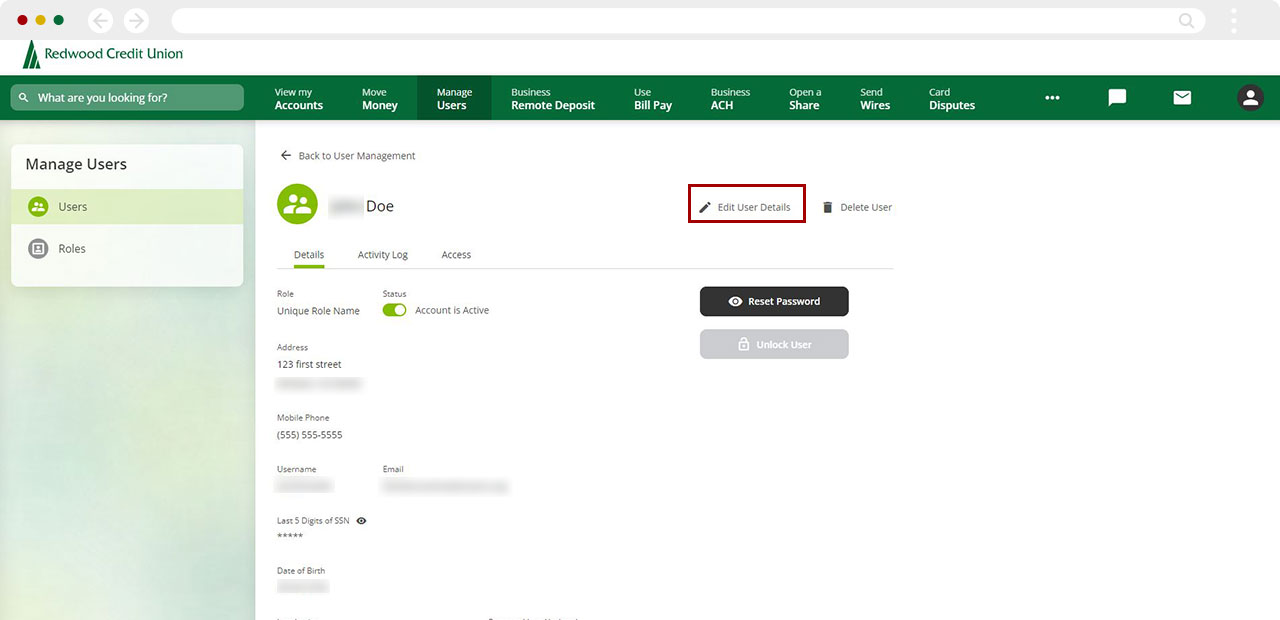
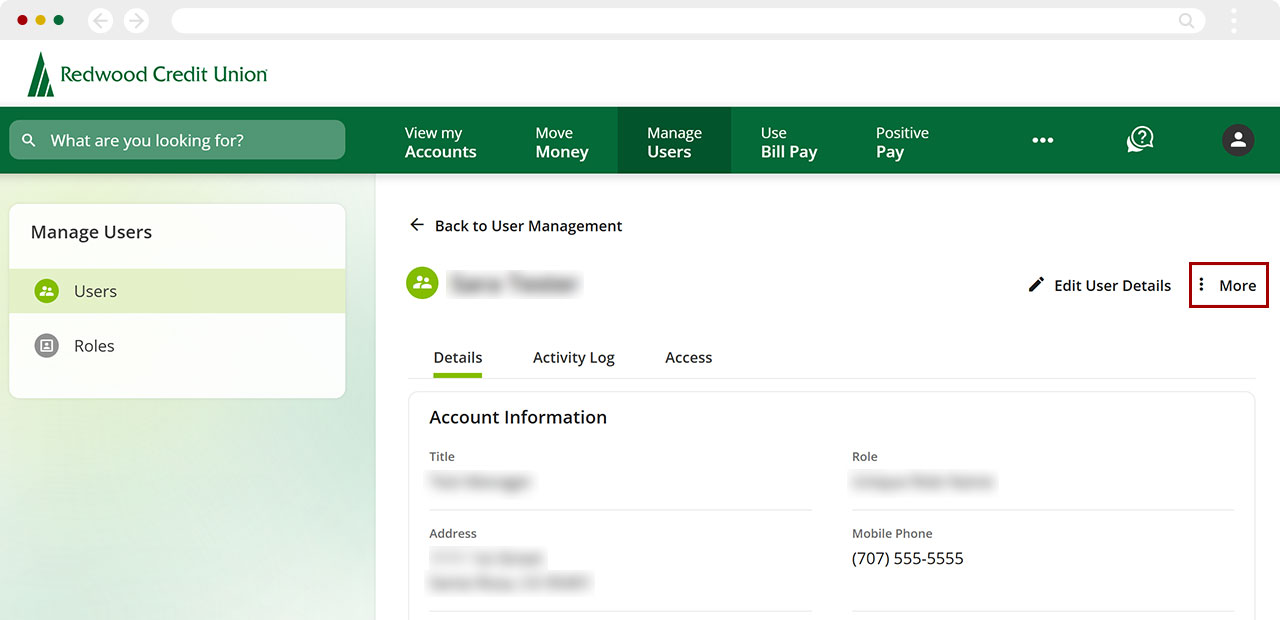
To edit the user account details, select Edit User Details. To edit the user's access to the account, select Access.
.jpg)
Next, click Edit User Details. When edits are completed, click Save.
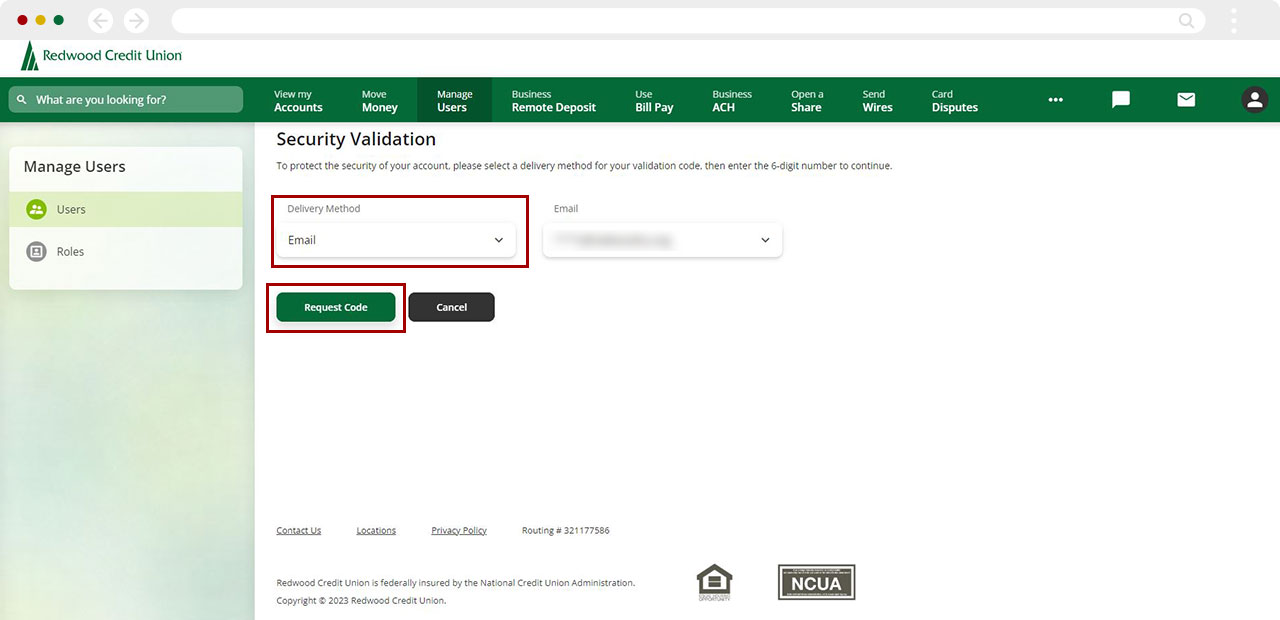
Select a Verification Method for the security validation, tap Next.
Fill in the Verification Code you received, click Next.
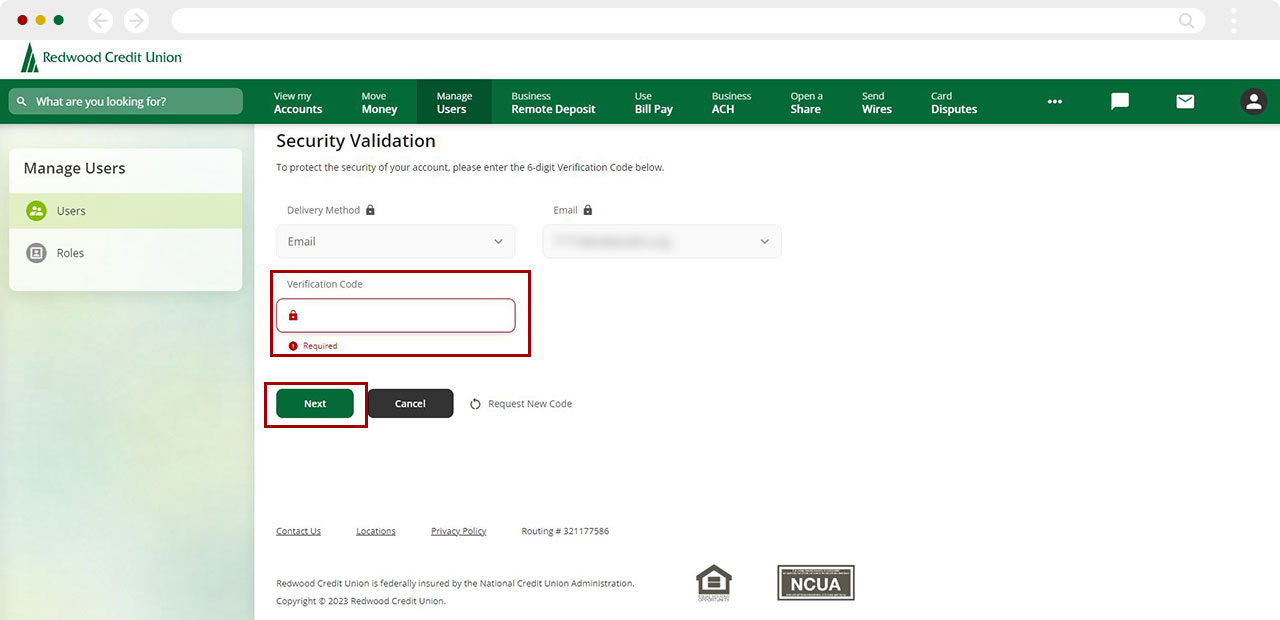
A green banner confirming changes have been made will appear at the bottom of the screen.
.jpg)
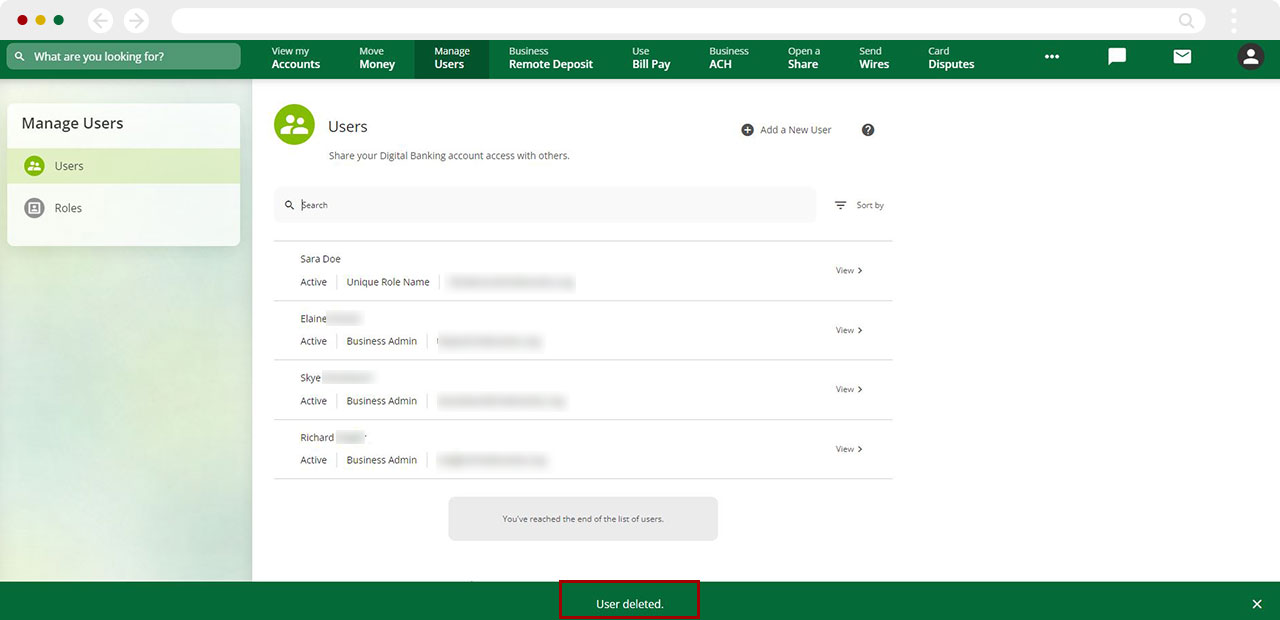
How to Delete a User
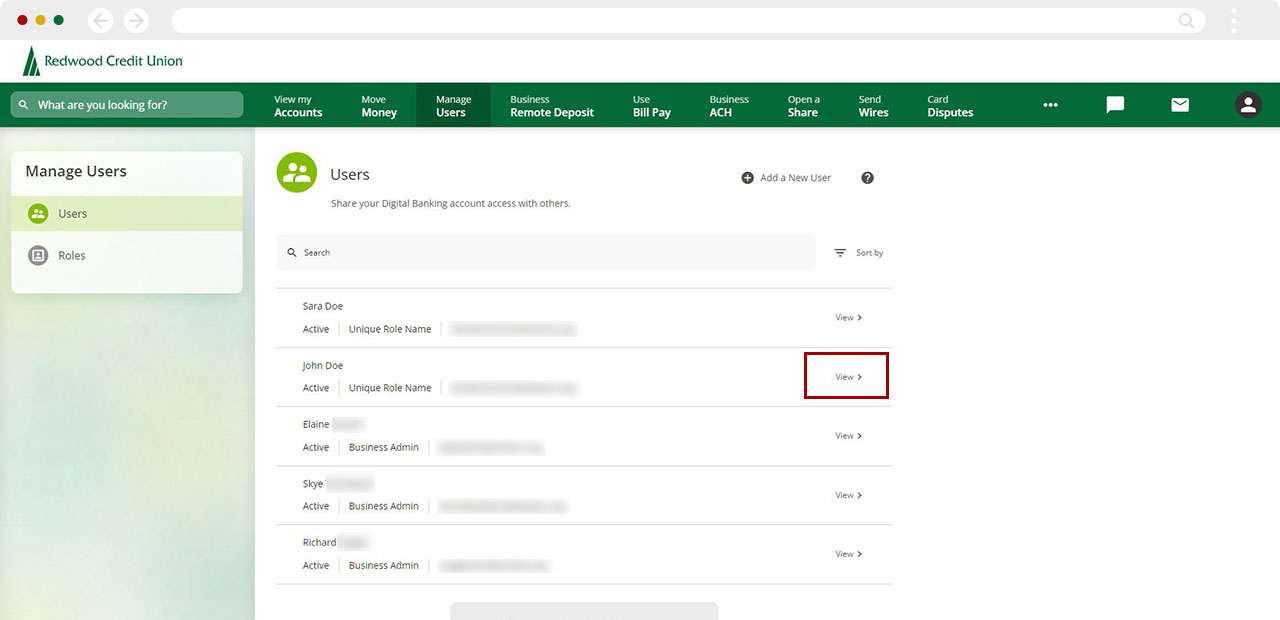
Along the top menu bar, select Manage Users

Select Users on the left panel.

Select View next to the user you would like to delete.
Select More.
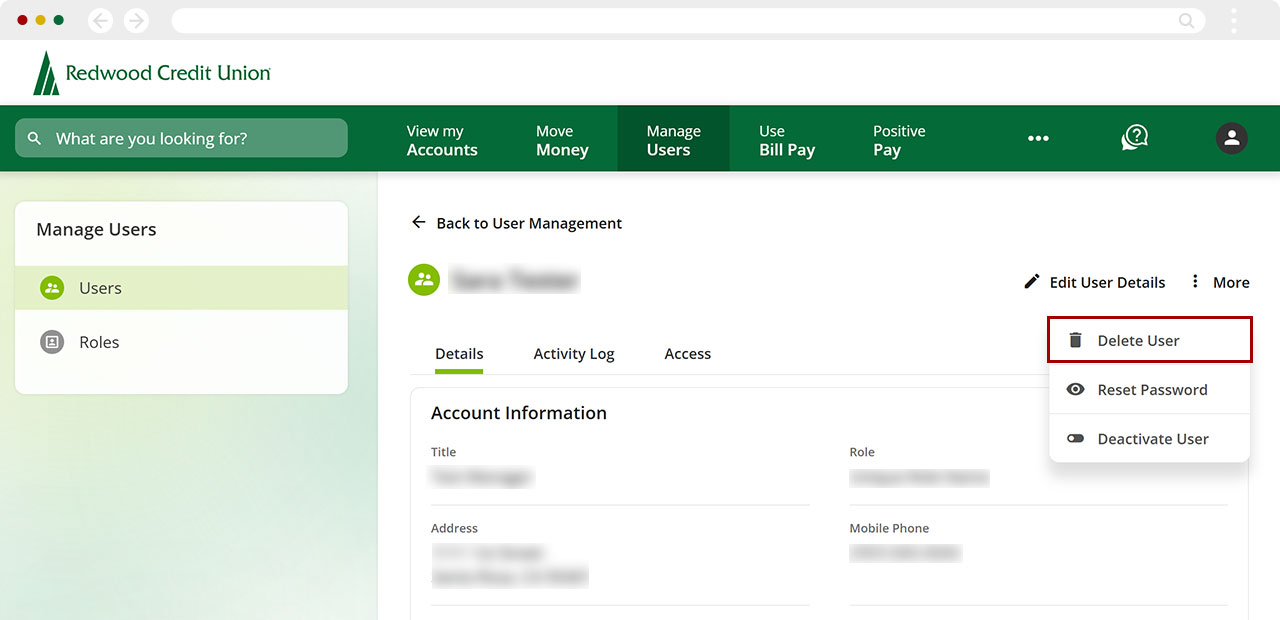
Select Delete User.
The next screen will ask if you are sure you want to permanently remove this sub-user. If ready, select Accept and Continue.
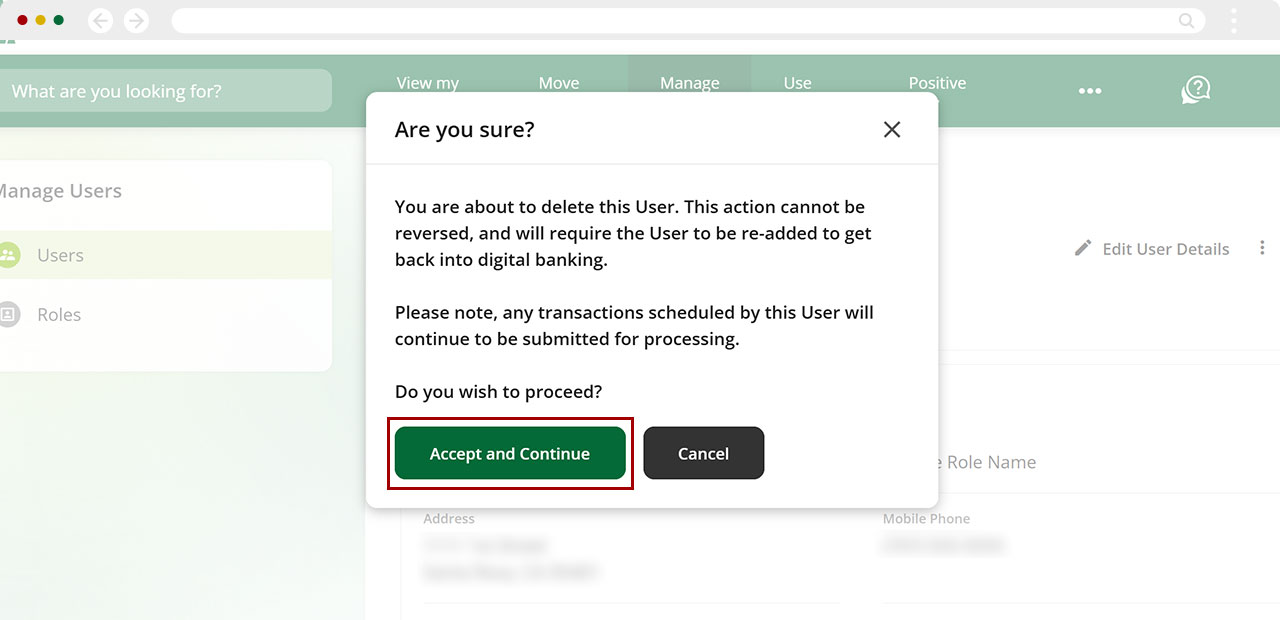
A green banner will appear to confirm the user has been deleted.