Using the Spend Forecast tool in digital banking
The Spend Forecast widget in digital banking allows you to budget and anticipate your monthly cash flow. Here’s how to set it up to see your spending projections.
Mobile
If you're using a mobile device, follow the steps below. For computers, go to the desktop steps
From the home screen, scroll down to the Spend Forecast widget and select Activate.
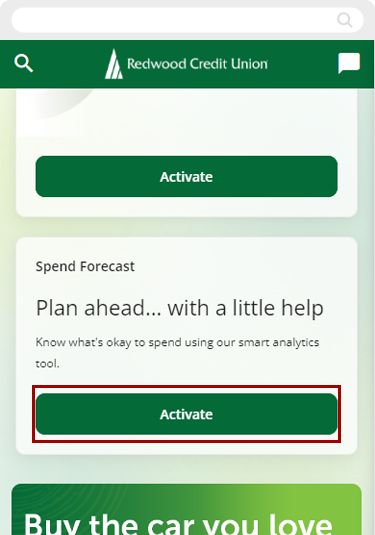
Review and accept the terms and conditions, and select Activate.
Note: Activation may take up to 24 hours.
Once Spend Forecast is activated, you’ll be asked to review your checking, savings and money market accounts and events to ensure your Spend Forecast is accurate.
Select Start Review.
.png)
To add or remove accounts from your Spend Forecast, check or uncheck the boxes next to each account.
Select Next.
.png)
You will now be able to see your forecasted events whenever you log in.
Select View Detail for more information.
.png)
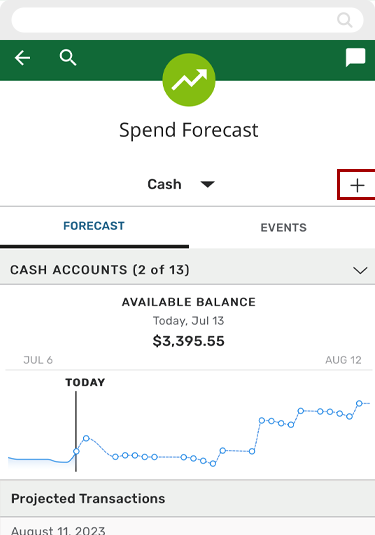
To manually add events to your Spend Forecast, tap the plus sign (+) at upper right.
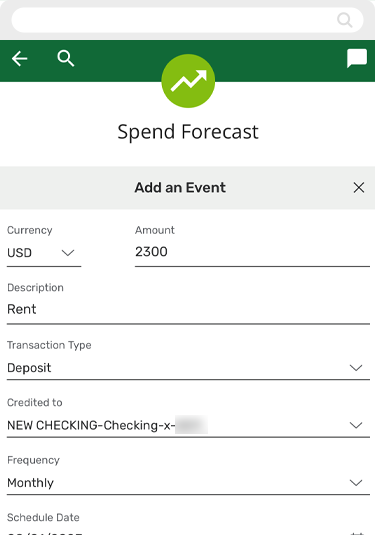
On the Add an Event screen, enter all the details for the event.
Please note: To add a recurring event (weekly, monthly, etc.), you will need to add both a beginning and an end date, as well as the frequency.
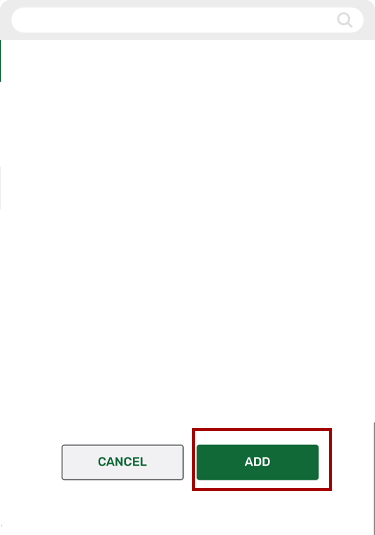
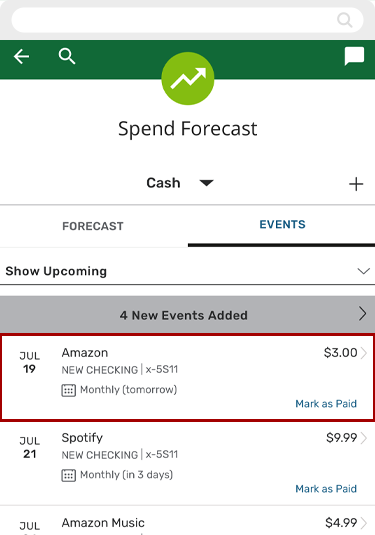
Select Add when done. Your events will be visible under the Events tab, by date.
Note: Events entered in the past will not be included in your spend forecast.
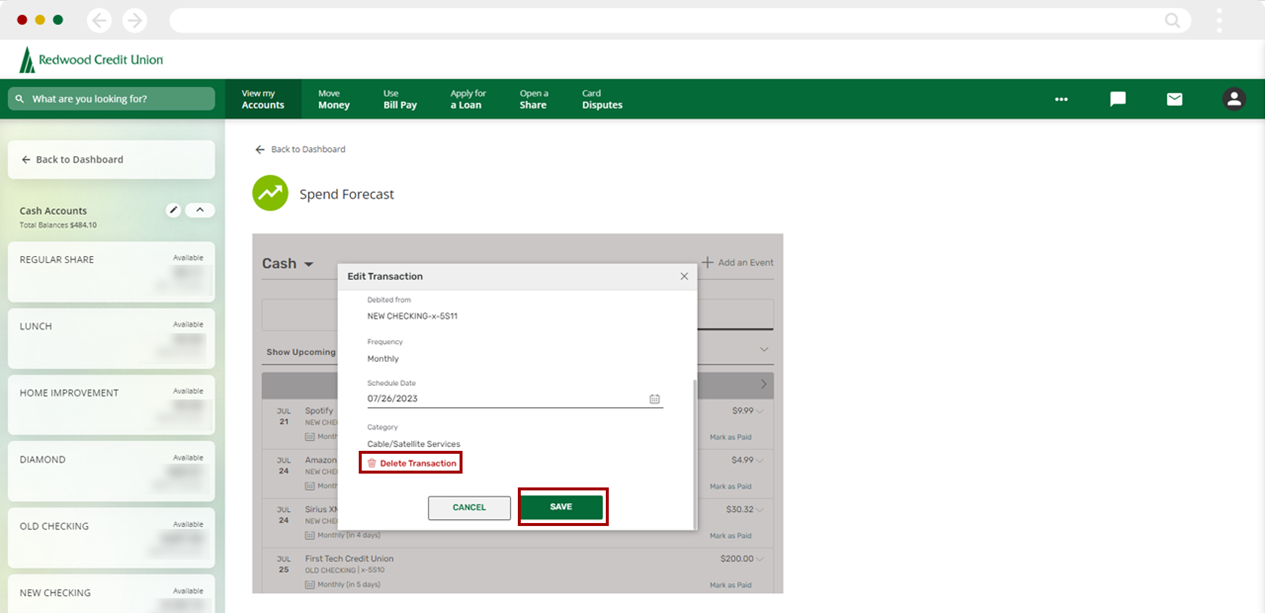
You may also edit or delete events.
From the main Spend Forecast screen, select the Events tab, and tap on the event you wish to edit or delete.
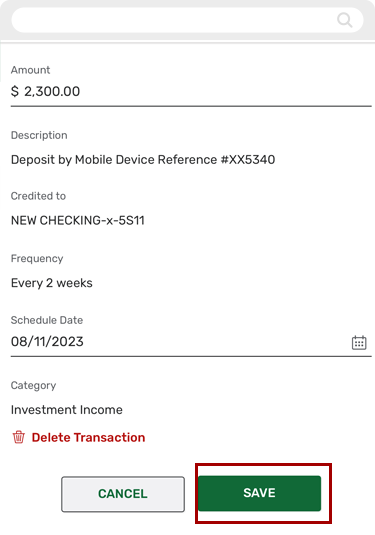
Once you have completed your changes select Save.
To delete the event, select Delete Transaction at bottom of the screen.
You’ll be able to see the amount the system estimates you have left to spend, as well as events (deposits and withdrawals) predicted in the near future.
Desktop
If you're using a computer, follow the steps below. For mobile devices, go to the mobile steps
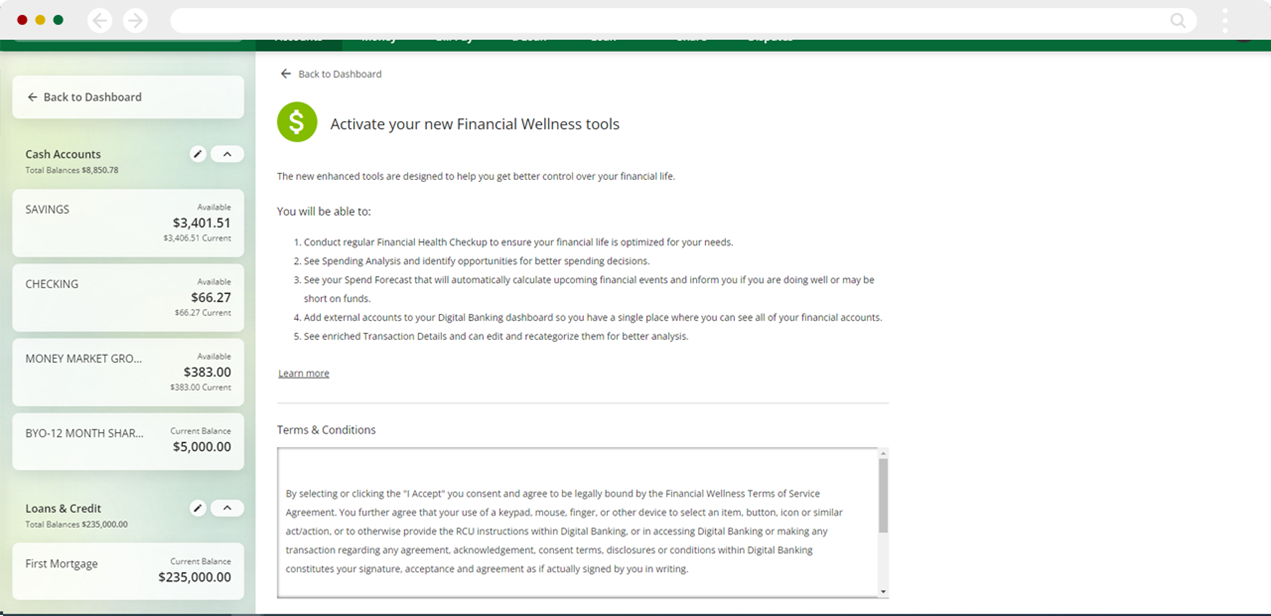
On your Dashboard, scroll down to the Spend Forecast widget and select Activate.
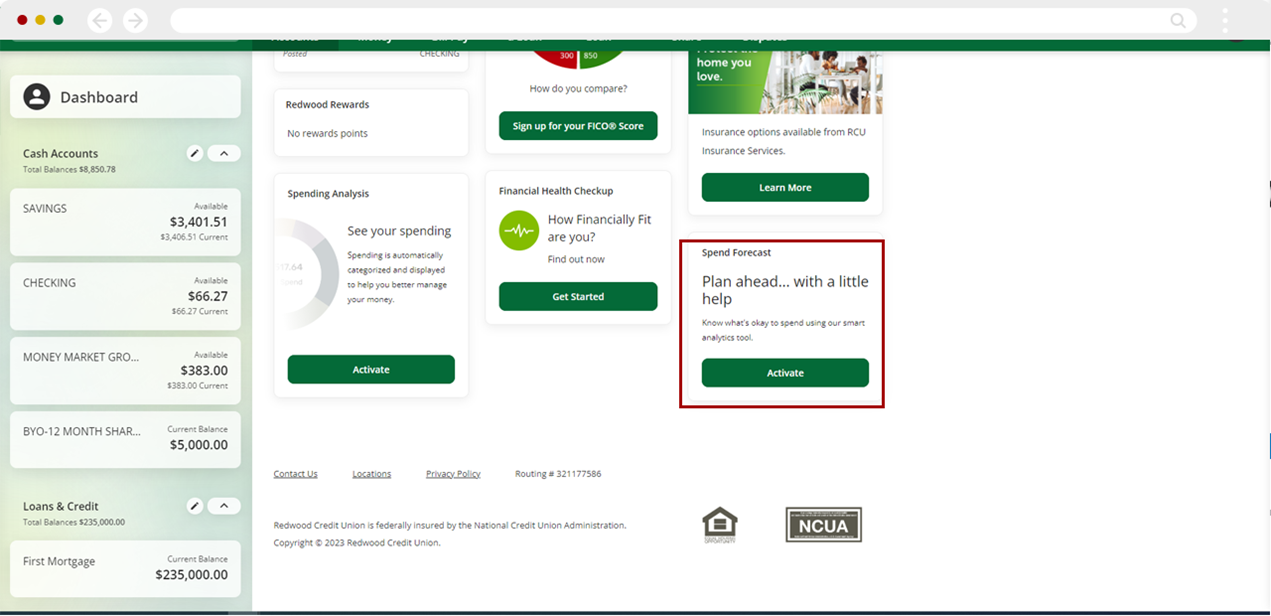
Review and accept the terms and conditions, and select Activate.
Note: Activation may take up to 24 hours.
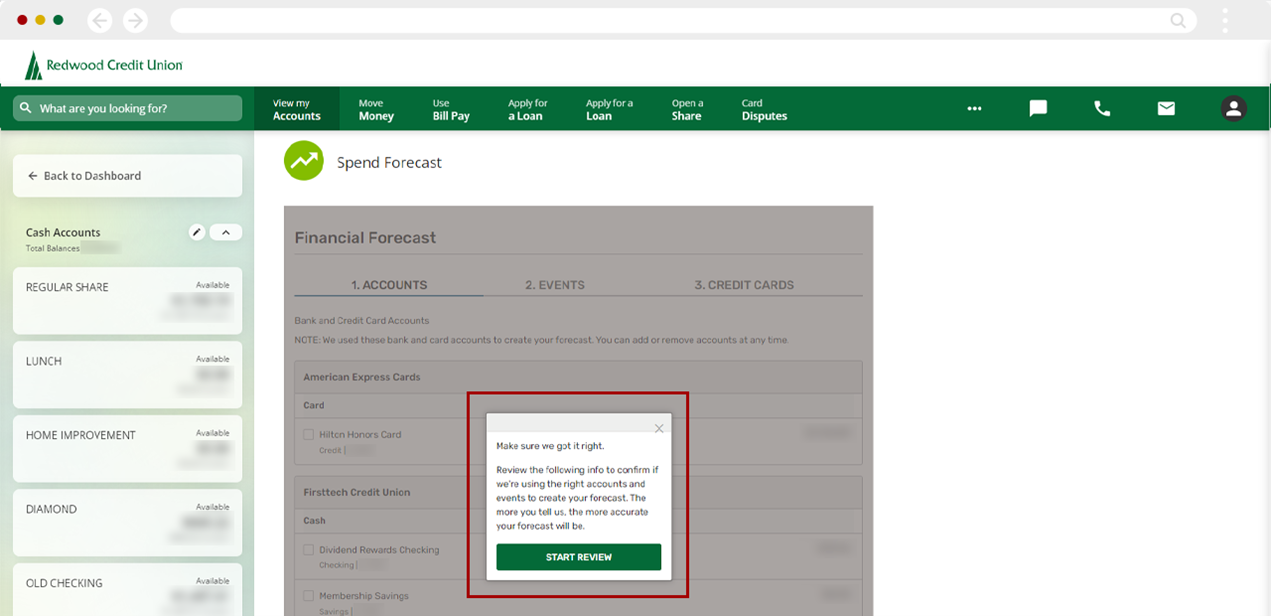
Once Spend Forecast has been activated, you’ll be asked to review your checking, savings and money market accounts and events to ensure your Spend Forecast is accurate. Select Start Review.
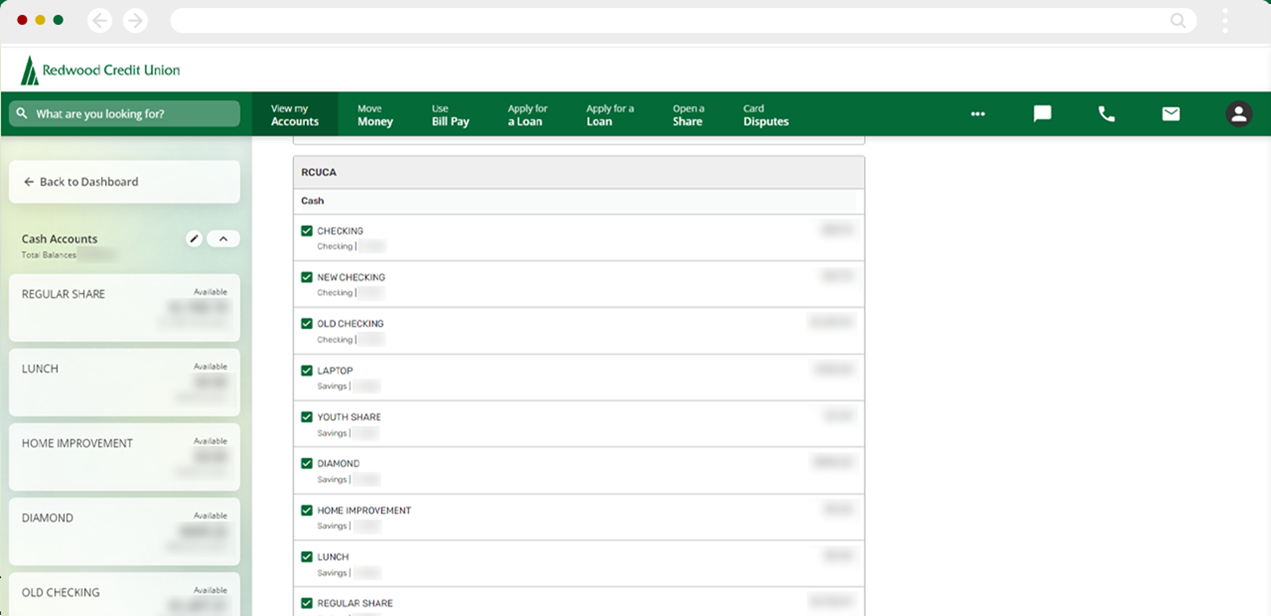
To add or remove accounts from your Spend Forecast, check or uncheck the boxes next to each account.
Select Next.
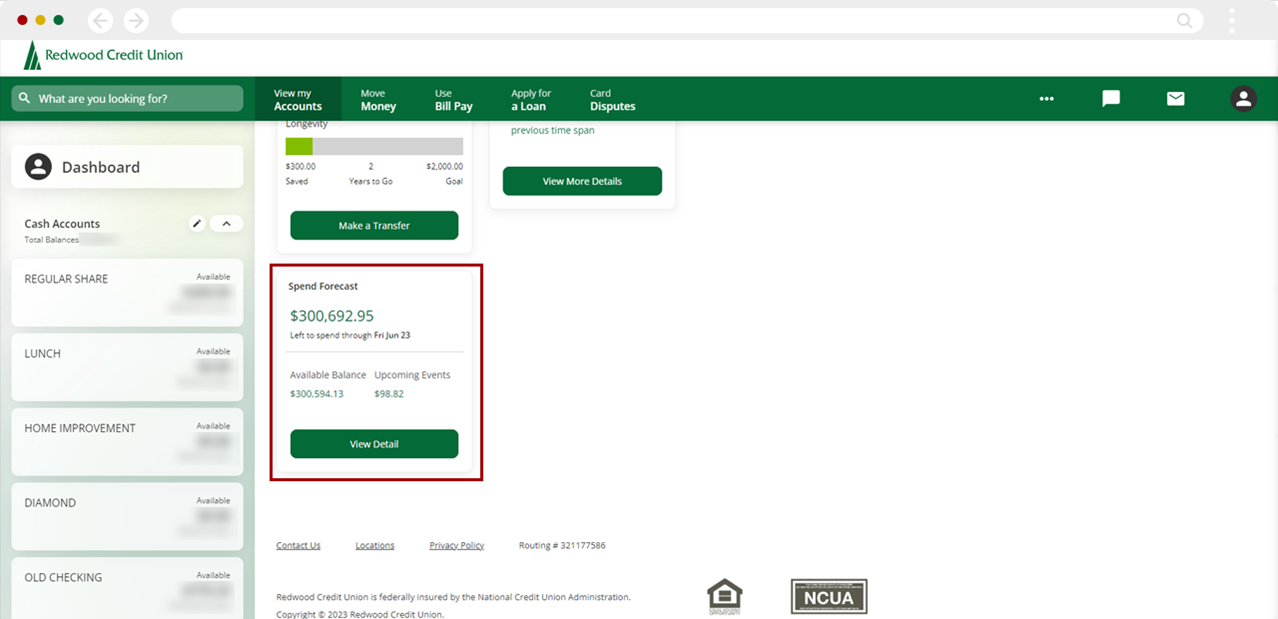
From your dashboard, scroll down to the Spend Forecast widget to see your projected spending amount.
Select View Detail for more information.
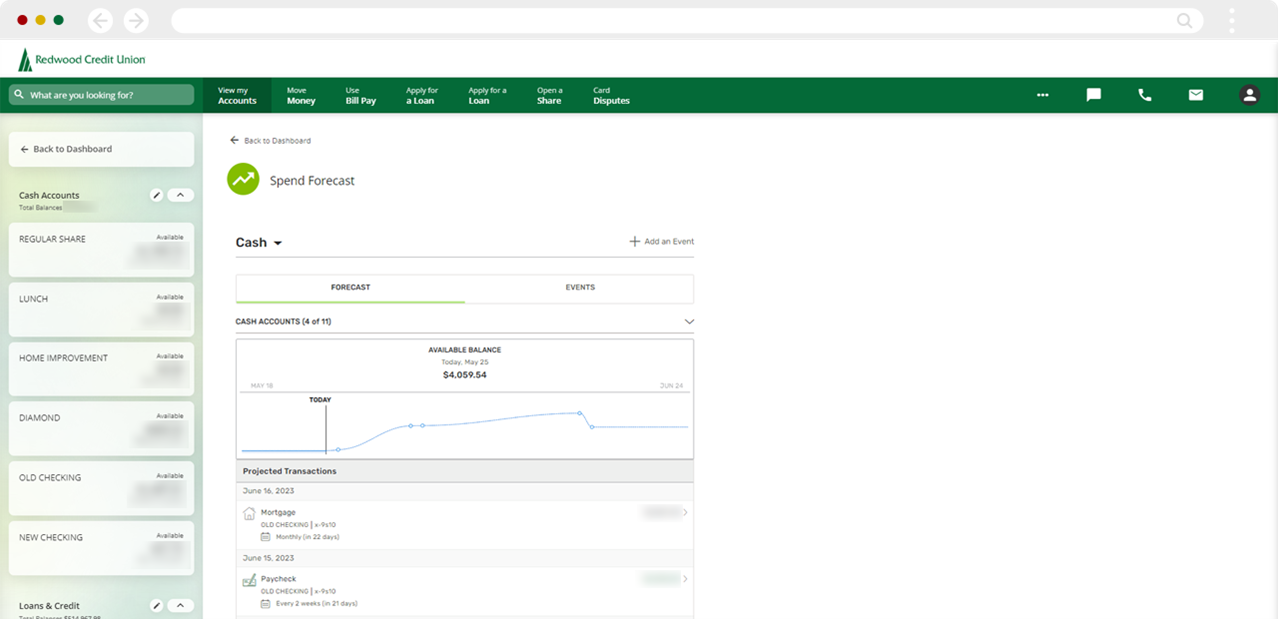
To manually add events to your Spend Forecast, click the plus sign (+) at upper right.
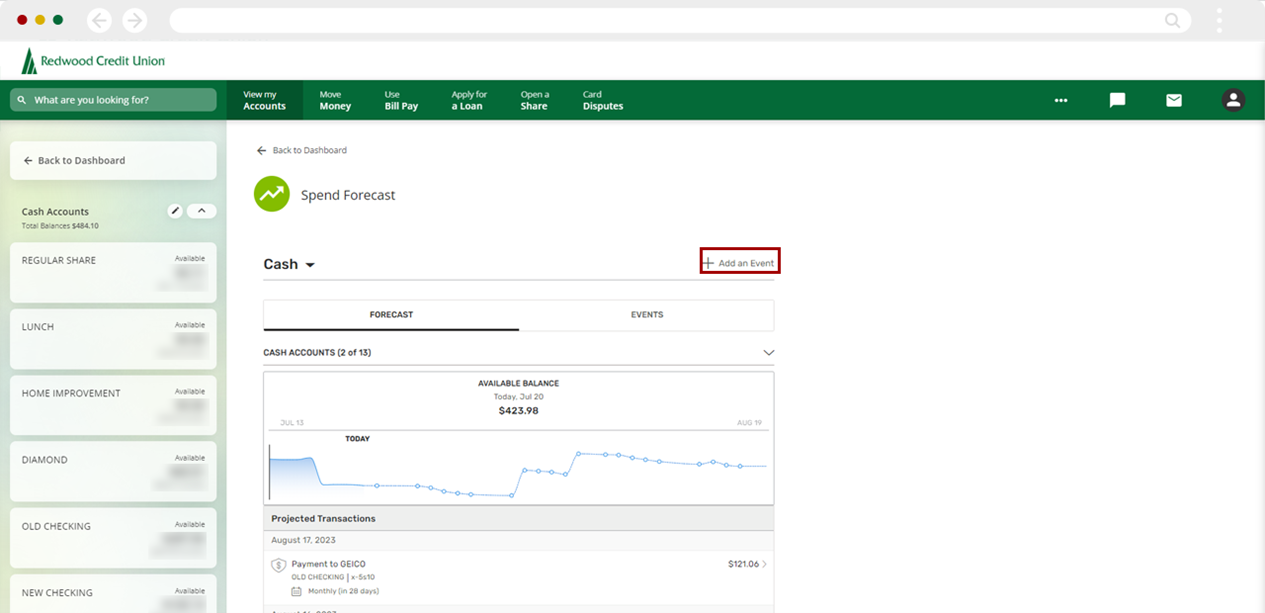
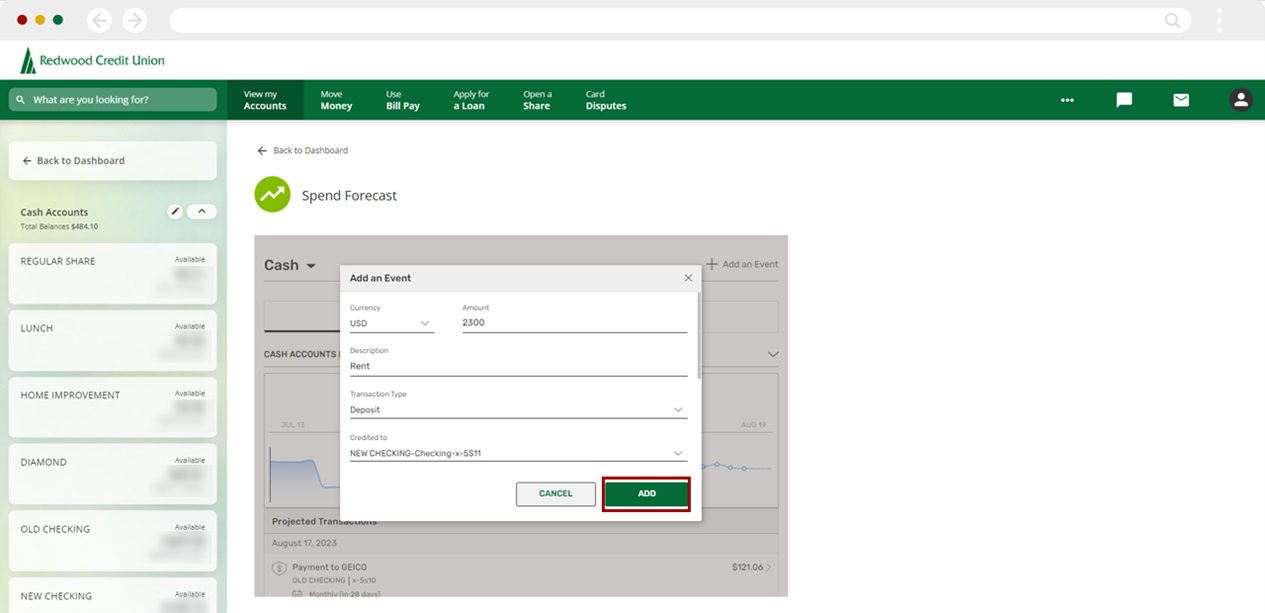
On the Add an Event screen, enter the full description, including currency, amount, description, account deposited to and date.
Please note: for a recurring event (weekly, monthly, etc.), you will need to add both a beginning and an end date.
Select Add when done.
Your events will be visible under the Events tab, by date.
Note: Events entered in the past will not be included in your spend forecast.
You may also delete or edit events.
From the main Spend Forecast screen, select the Events tab, and tap on the event you wish to edit or delete.
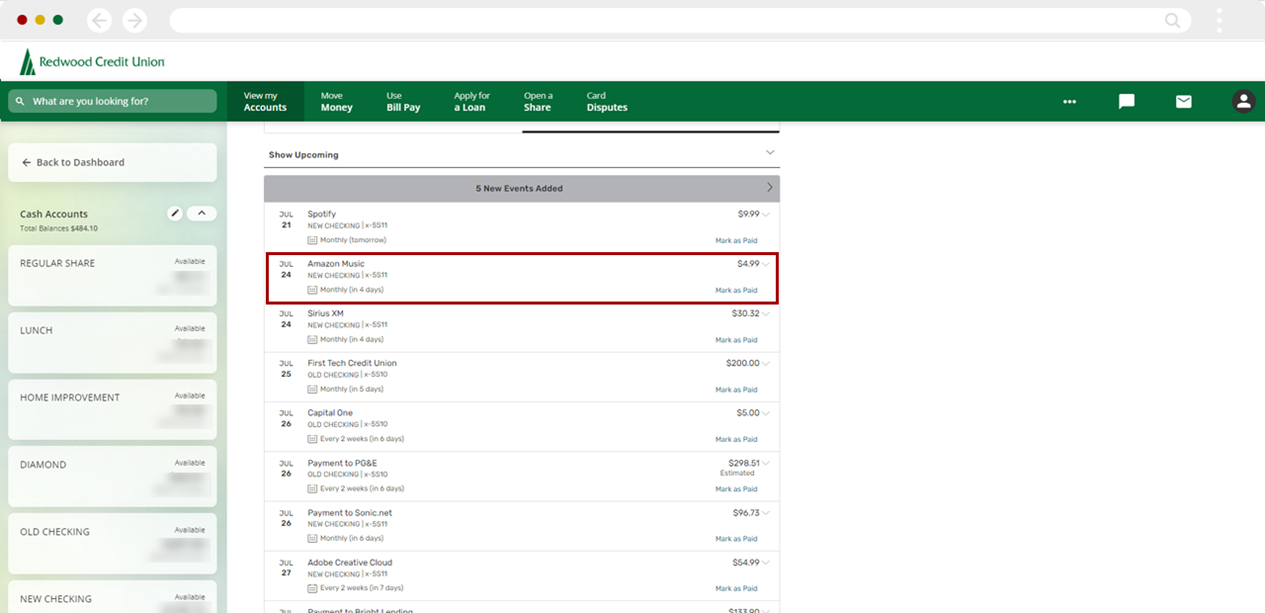
Once you have completed your changes, select Save.
To delete the event, select Delete Transaction at bottom of the screen.
You’ll be able to see the amount the system estimates you have left to spend, as well as events (deposits and withdrawals) predicted in the near future.
