
Business Positive Pay: How do I manually add an issued check or upload an issued check file?
Business Members can manually input an individual check or upload a .CSV file with a list of issued checks. See instructions on how to edit or delete uploaded checks.
For the best experience with Positive Pay, we recommend using a computer (desktop view) rather than a mobile device.
This article covers the following topics:
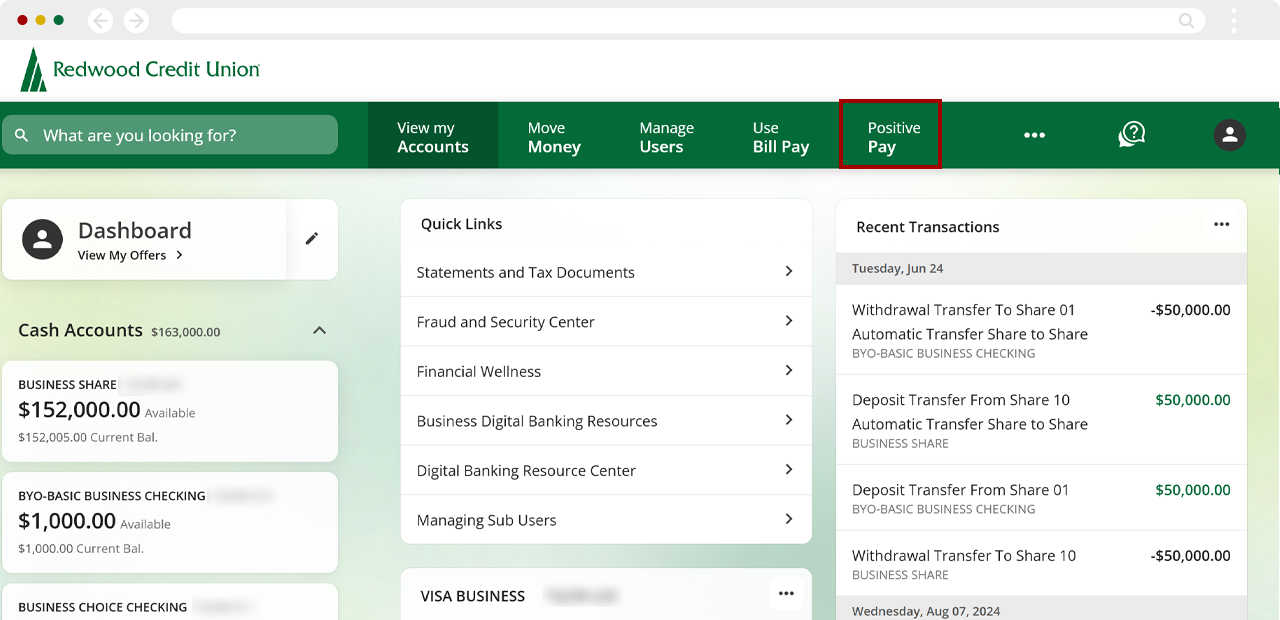
From the top Positive Pay menu, select Issued Checks.
.png)
Select Add Check.
.png)
Select the Account.
.png)
Enter the Check Number, Amount, Issue Date, and Payee Name, then select Add New Check.
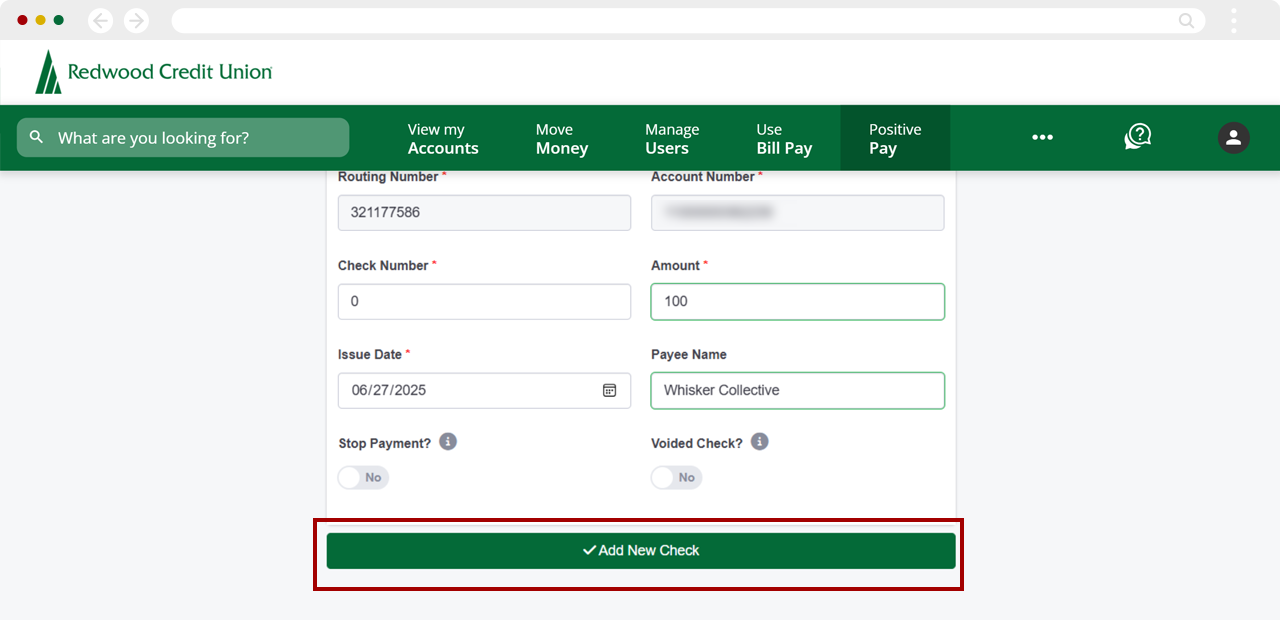
You will now see the check listed in the Issued Checks table.
.png)

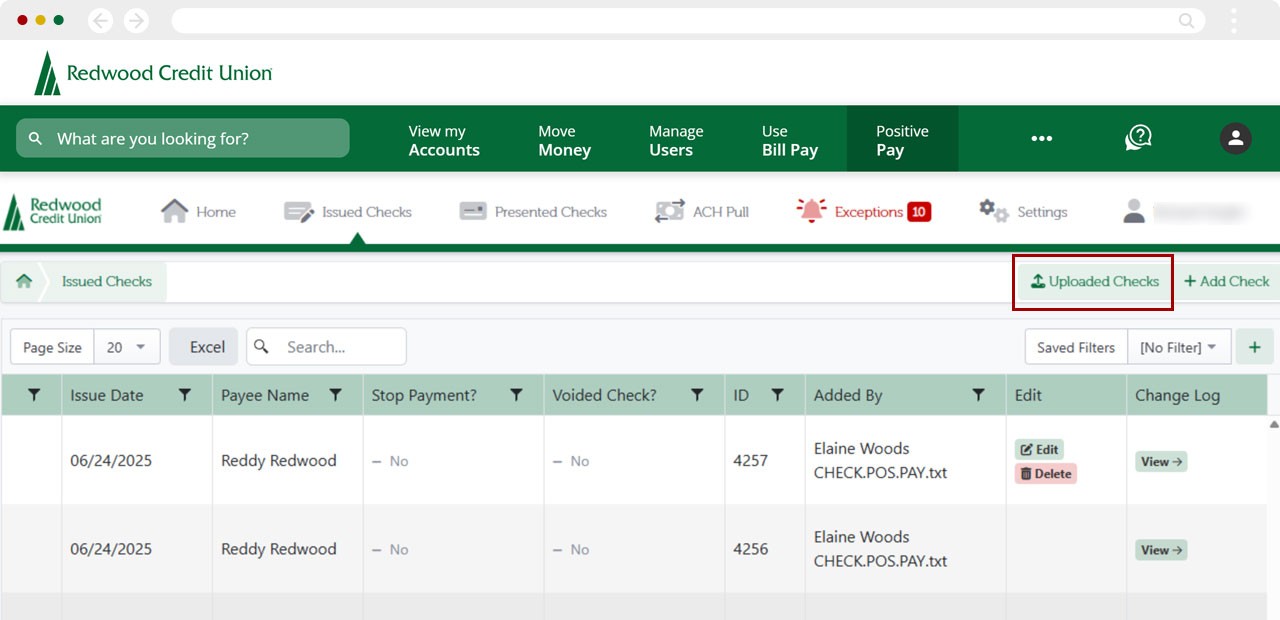
Select Uploaded Checks.
Select Upload File.
.png)
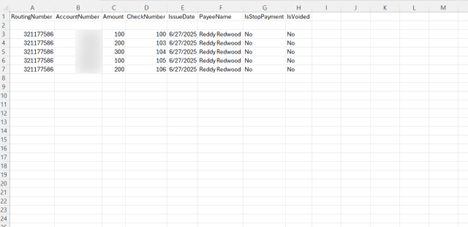
On the following screen, select Upload File(s) and choose the .CSV on your computer, then select Open.
.png)
Select Upload File to upload another file or select View the Uploaded File to check the file’s status and other information.
.png)
The checks should now be listed on the Issued Checks tab.
.png)
