Business Positive Pay: How do I add, edit, or delete an ACH company?
You can add, edit, or delete ACH companies for use within ACH decision rules and ACH approval rules. ACH companies will be created automatically when ACH transactions are presented in Positive Pay.
For the best experience with Positive Pay, we recommend using a computer (desktop view) rather than a mobile device.
This article covers the following topics:
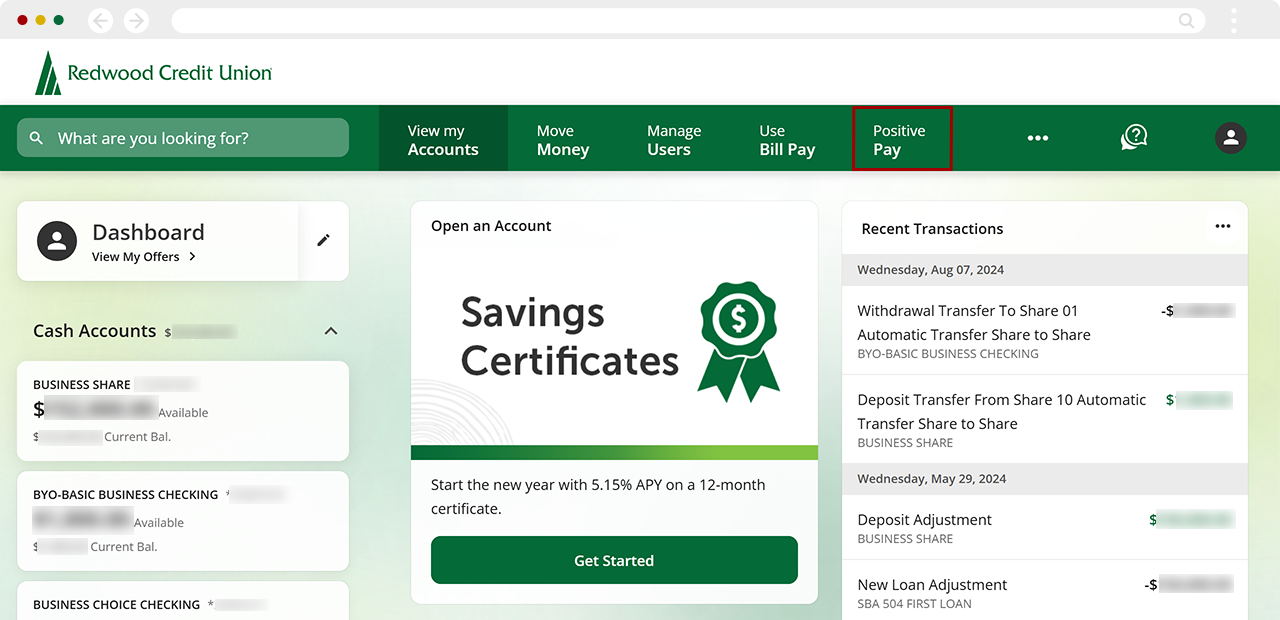
From the top Positive Pay menu, select Settings.
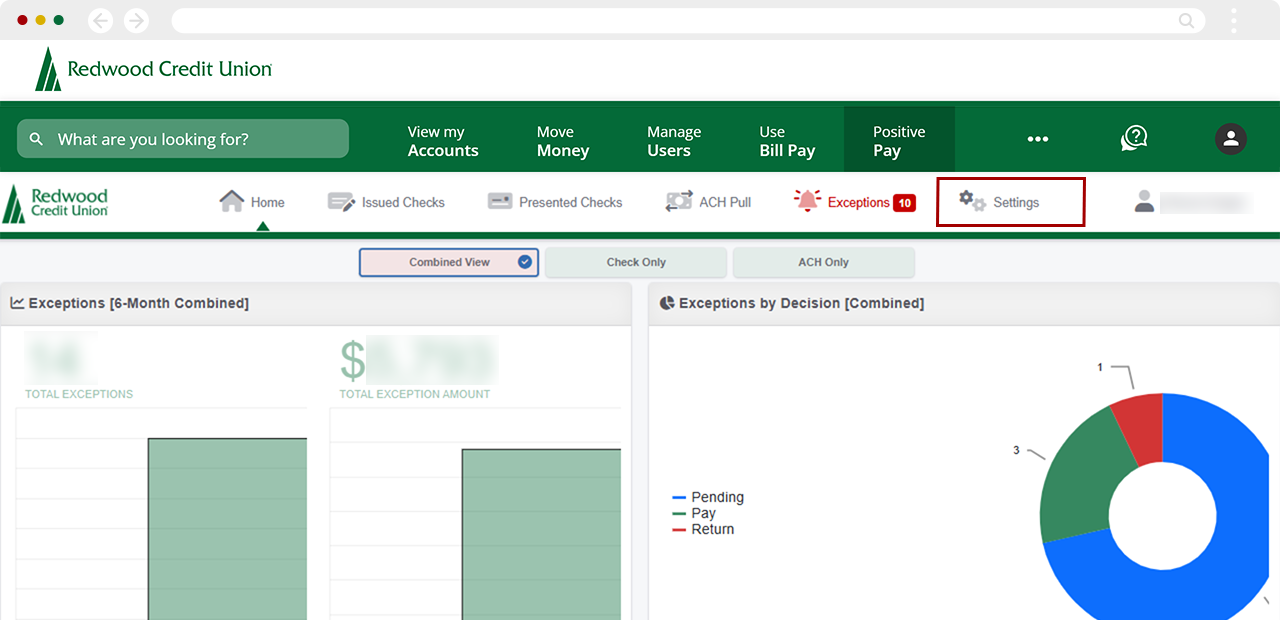
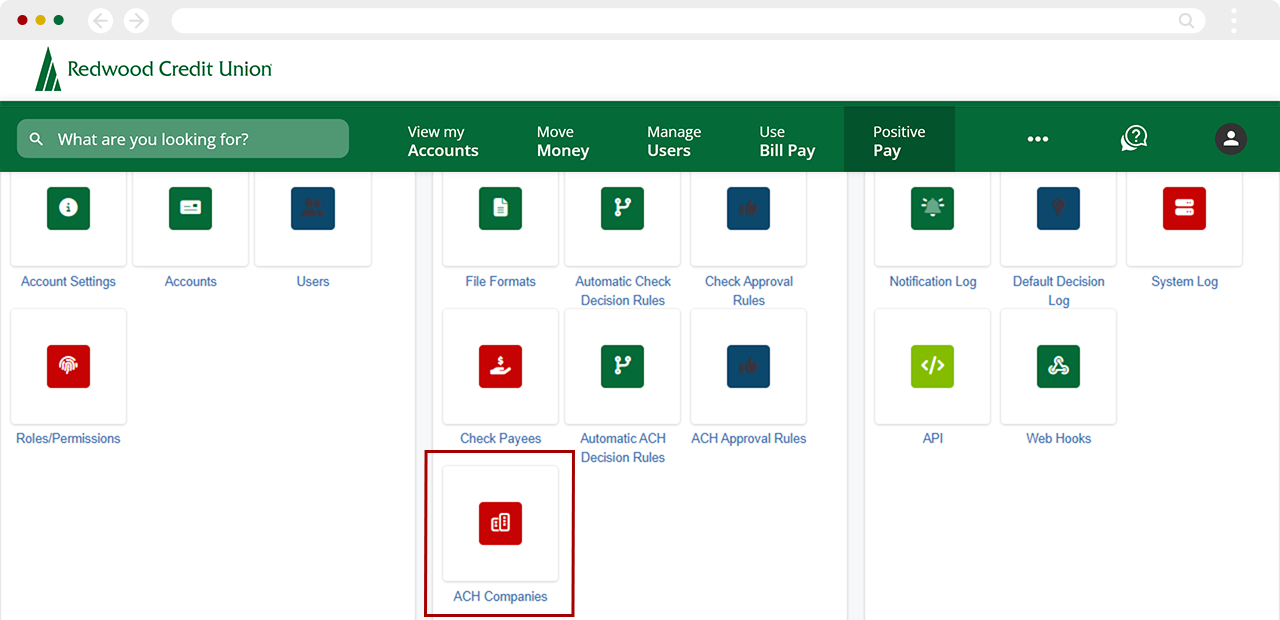
Under Settings, select ACH Companies.
At the top right, select Add Company in the top right corner.
.png)
Complete the Add Company details.
- Enter the Company Name
- Enter the Routing Number
- Enter the Company Identifier
Then, select Save.
Note: The Company Identifier is the company ID that is associated with the ACH transaction.

You will now see the company listed in the ACH Companies table. You can now add automatic decision rules and ACH rules for this company.
.png)
.png)
From the top Positive Pay menu, select Settings.
.png)
Under settings, select ACH Companies.
.png)
Locate the ACH company you want to edit and click Edit.
.png)
Edit the company information as needed and select Save.
.png)
A banner will appear confirming the company was updated successfully.

.png)
From the top Positive Pay menu, select Settings.
.png)
Under settings, select ACH Companies.
.png)
Locate the ACH company you want to delete and click Delete.
.png)
Confirm you want to delete the company by selecting Confirm. To cancel the deletion, select Cancel.
Note: Issued and Presented Check data will not be affected. However, you will no longer be able to create decision rules with this company.
.png)
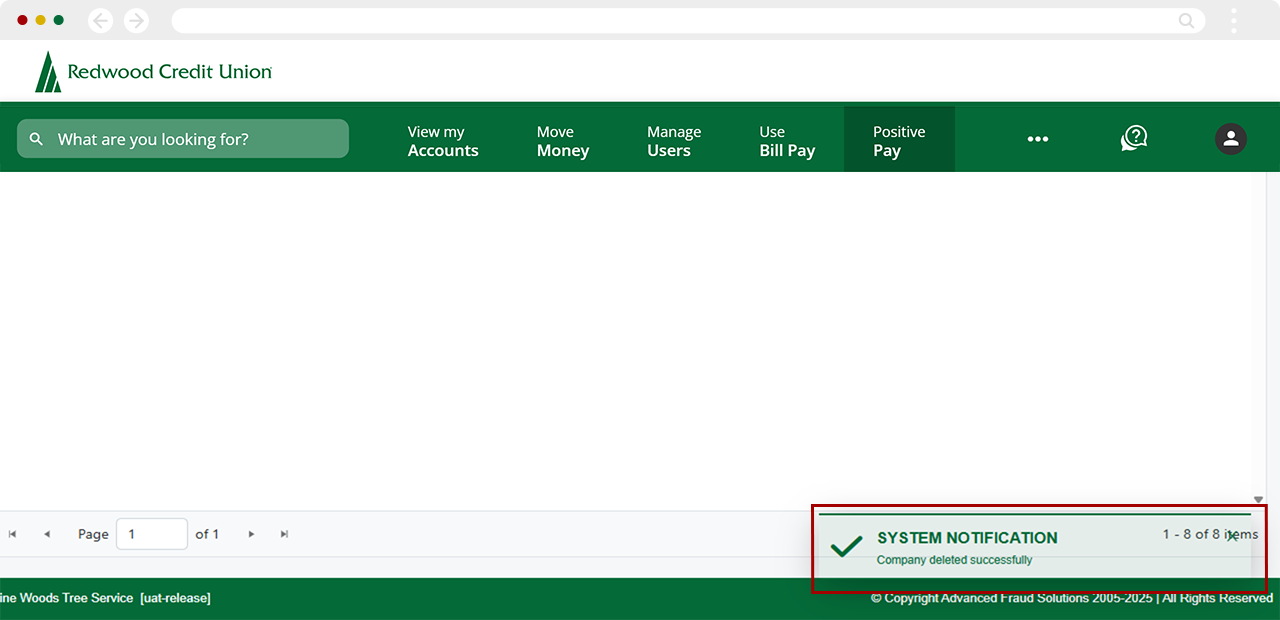
A banner will appear confirming the company was deleted successfully.