Business Positive Pay: How do I edit, delete, stop, or void an issued check?
For the best experience with Positive Pay, we recommend using a computer (desktop view) rather than a mobile device.
This article covers how you can edit, delete, stop, or void an issued check if it has not been presented for payment:
Desktop
How to edit an issued check
From the top menu, select Positive Pay.

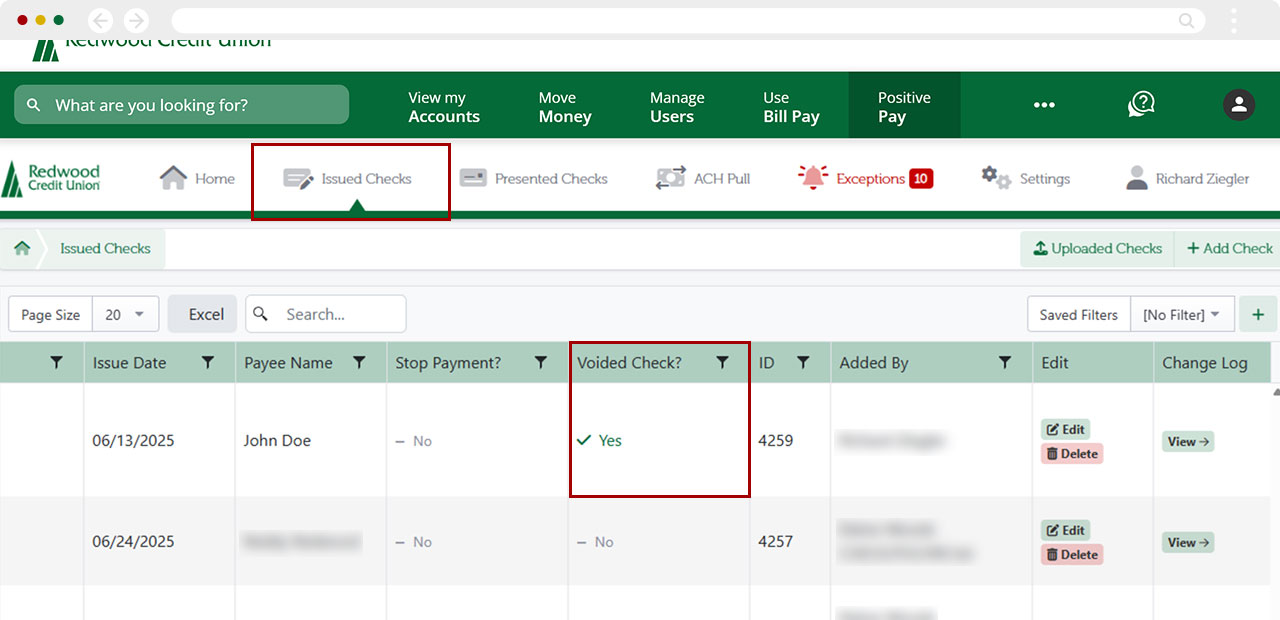
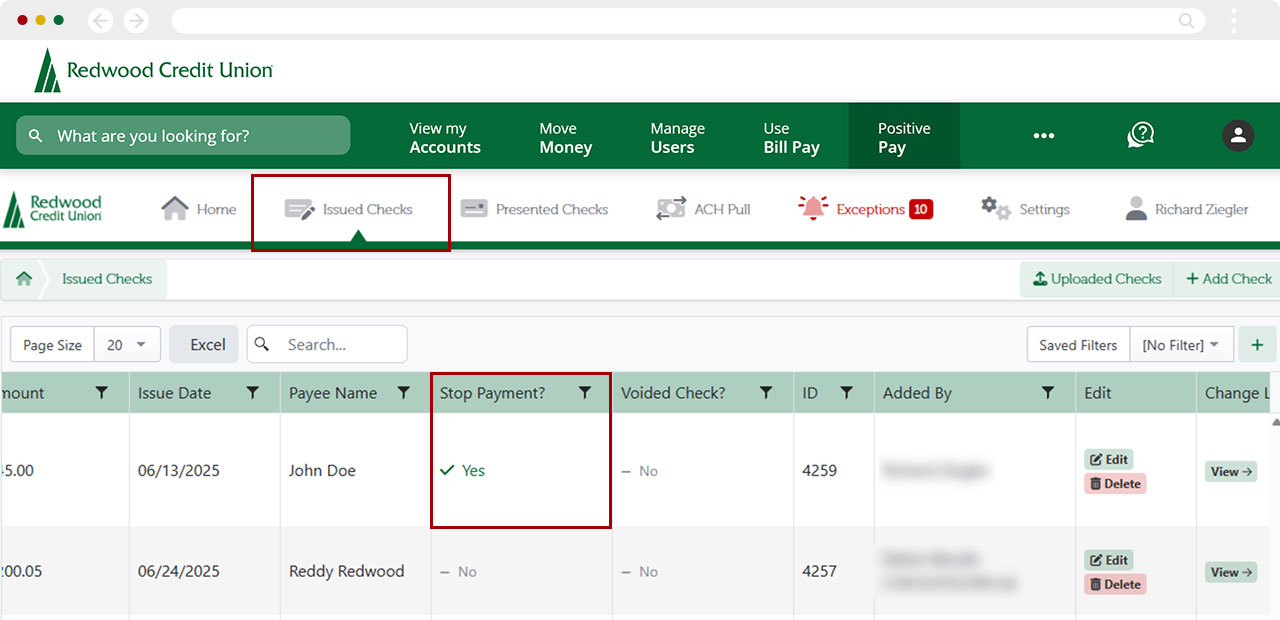
From the top Positive Pay menu, select Issued Checks.

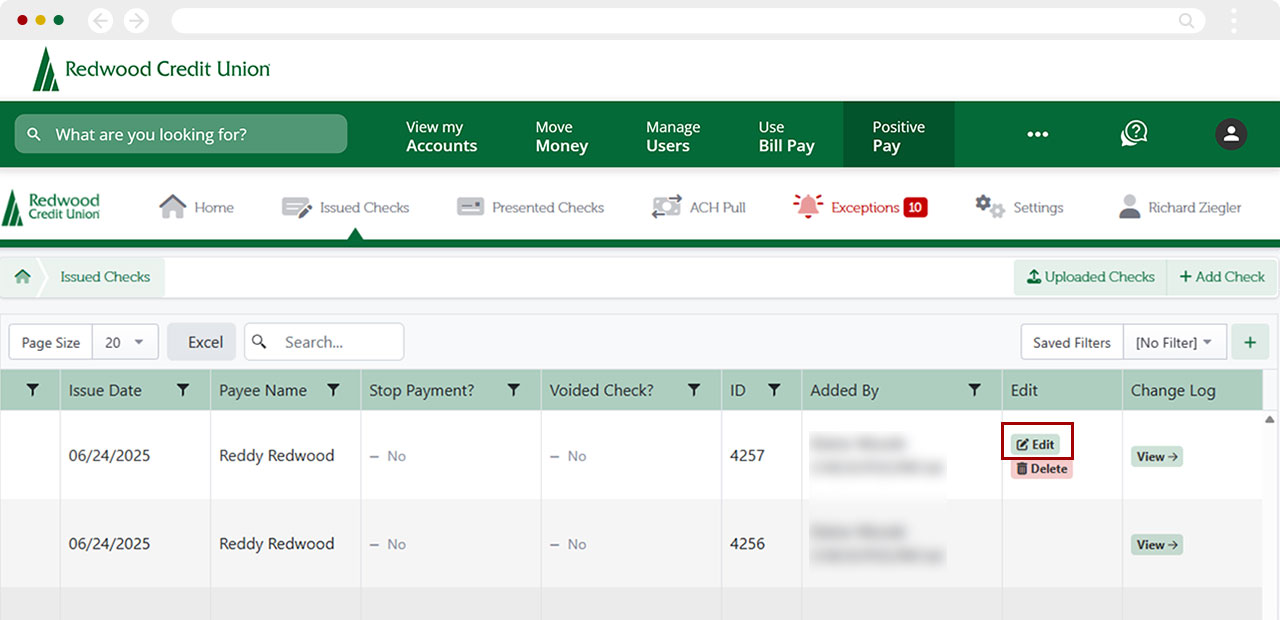
Scroll to the right using the scroll bar at the bottom of the screen. Locate the issued check you want to edit, then select Edit.
Note: You may need to scroll down to access the horizontal scroll bar, depending on your screen size or display settings.
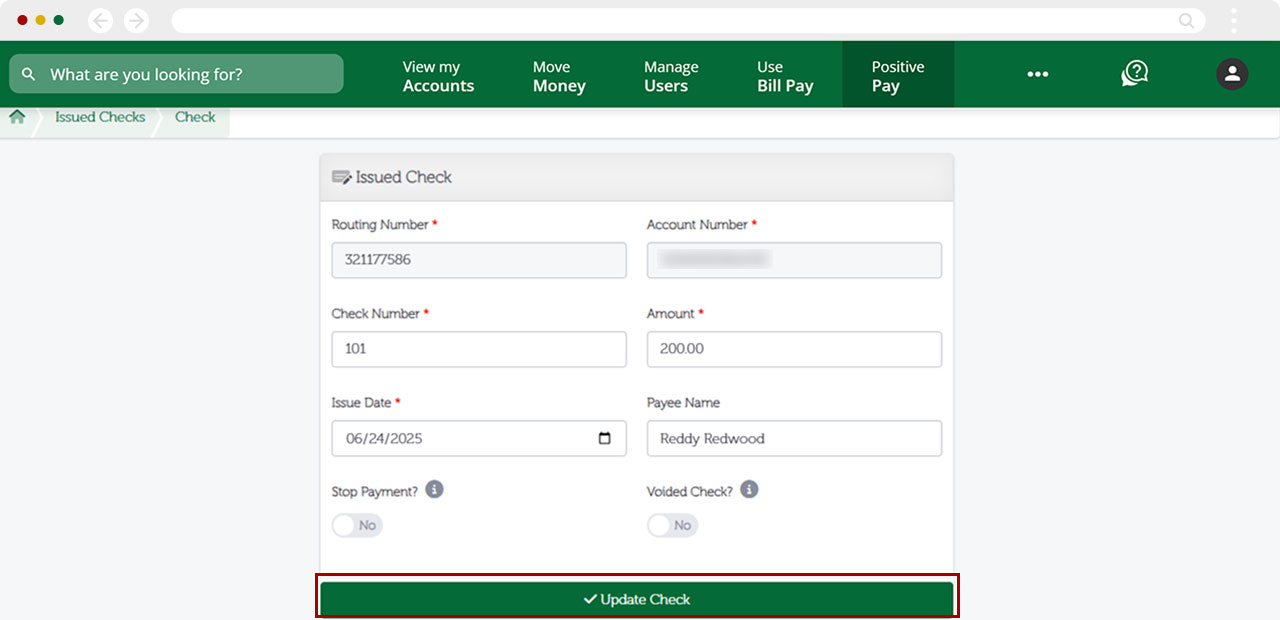
Make your edits to the issued check and select Update Check.
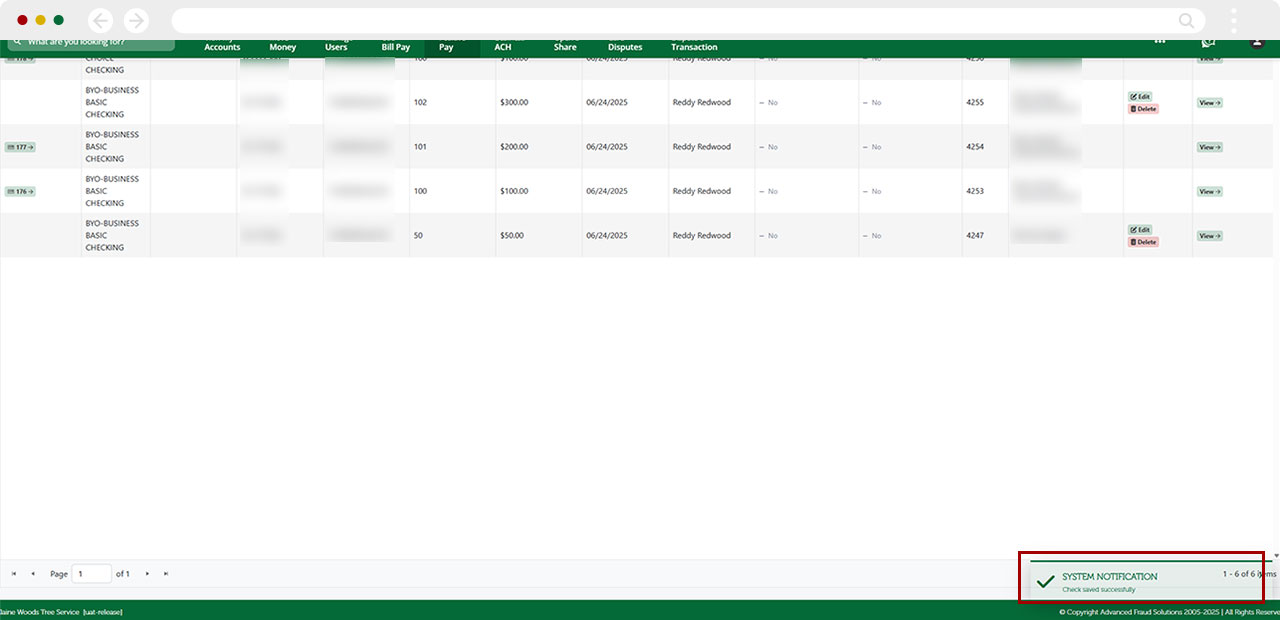
A banner will display confirming the check was updated successfully.
How to delete an issued check
From the top menu, select Positive Pay.
From the top Positive Pay menu, select Issued Checks.
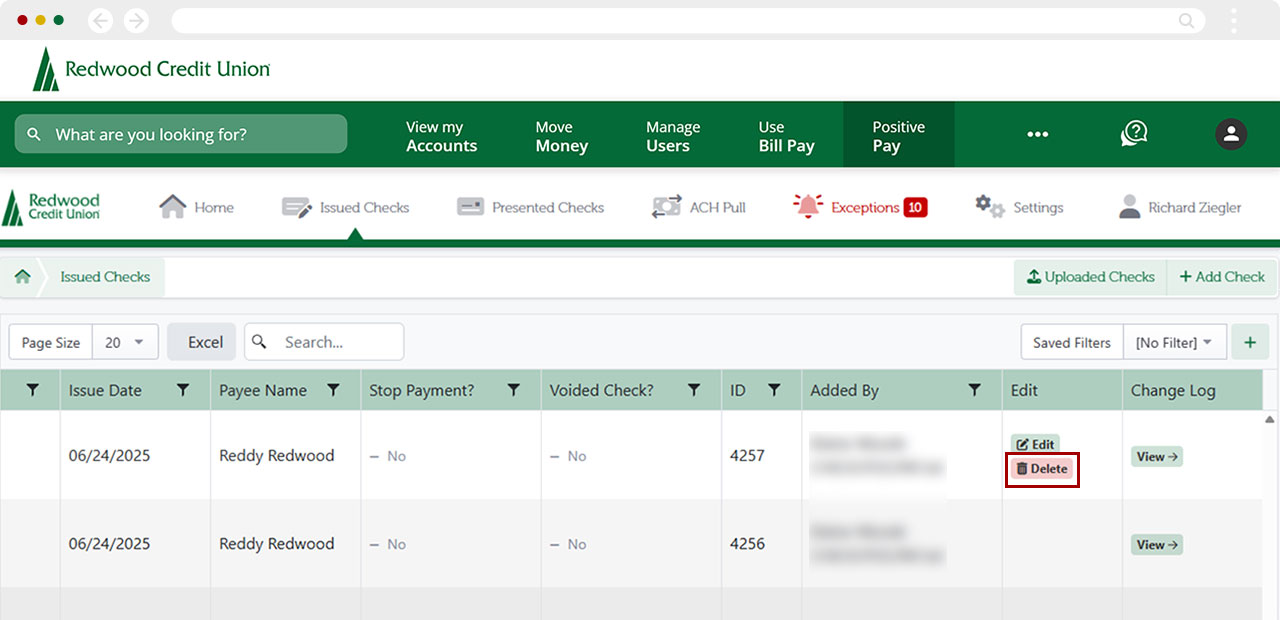
Scroll to the right using the scroll bar at the bottom of the screen. Locate the issued check you want to delete, then click Delete.
Note: You may need to scroll down to access the horizontal scroll bar, depending on your screen size or display settings.
Confirm you want to delete the check by selecting Confirm. To cancel the deletion, select Cancel.
Note: The deletion is final once Confirm is selected.

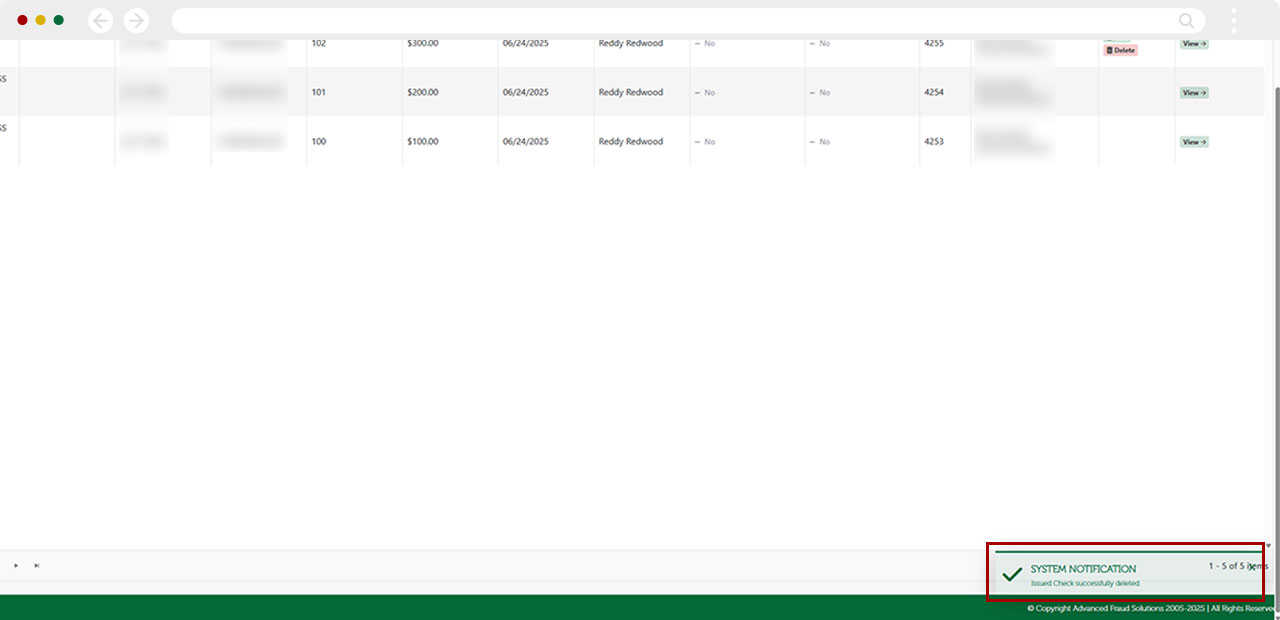
A banner will appear confirming the check was deleted successfully.
How to stop payment of an issued check
From the top menu, select Positive Pay.
From the top Positive Pay menu, select Issued Checks.
Scroll to the right using the scroll bar at the bottom of the screen. Locate the issued check you want to edit, then select Edit.
Note: You may need to scroll down to access the horizontal scroll bar, depending on your screen size or display settings.
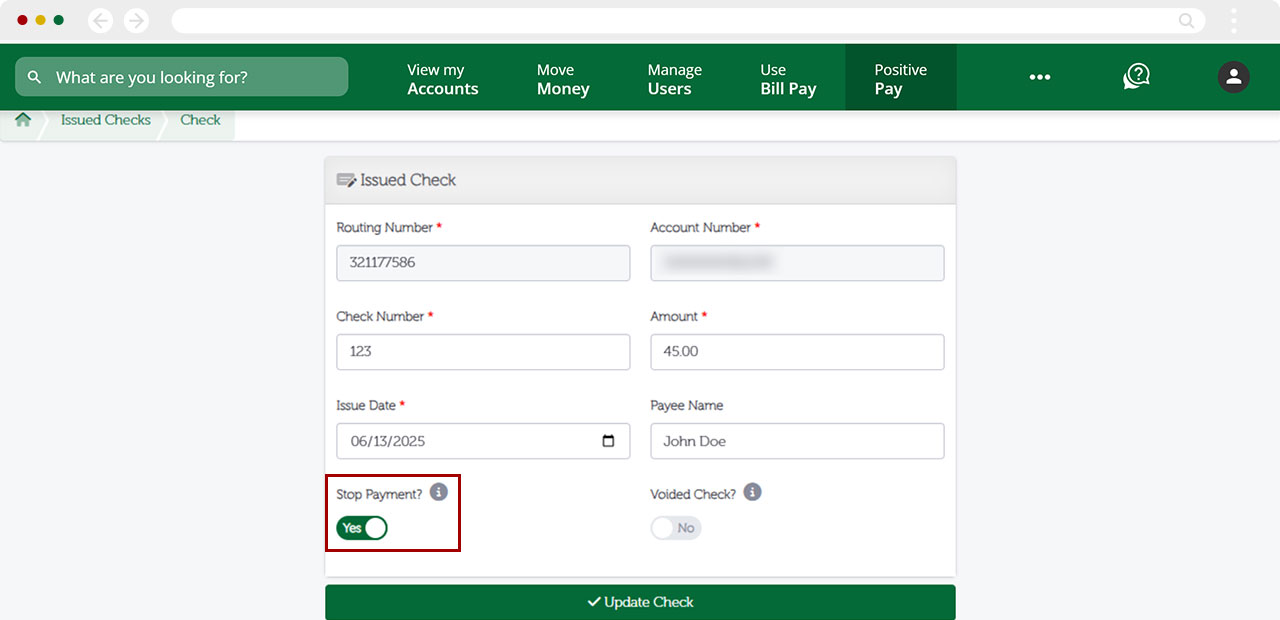
Switch the Stop Payment? toggle to Yes.
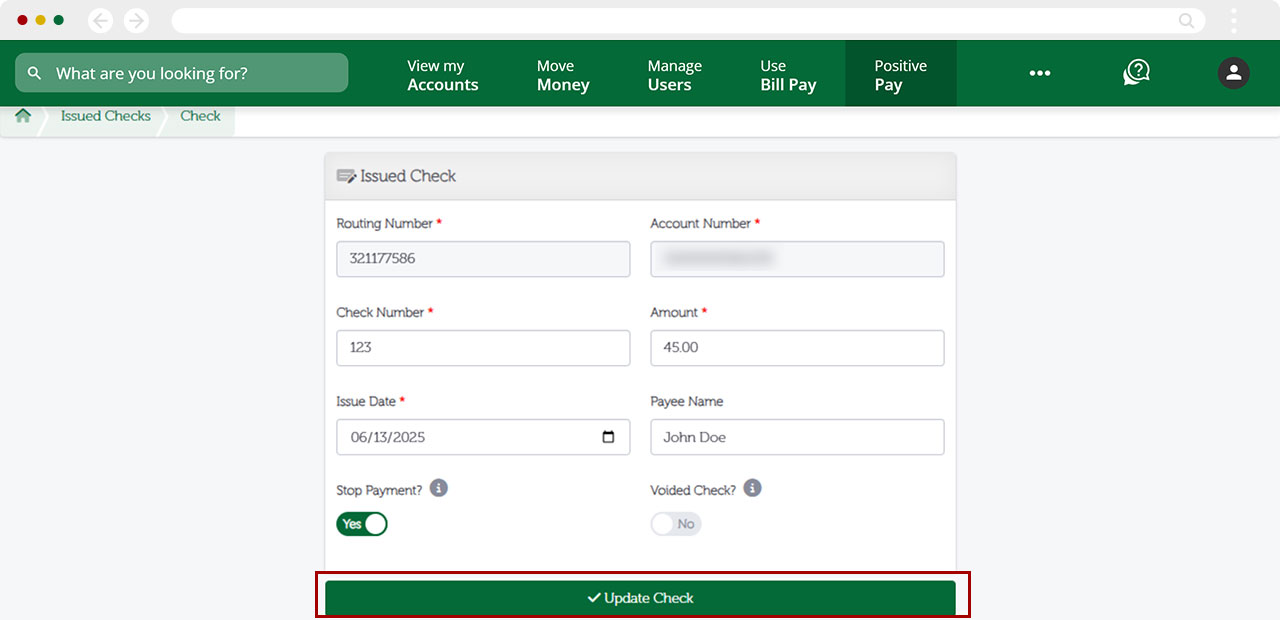
Select Update Check.
Note: Please contact Redwood Credit Union to ensure the stop payment has been placed.
A banner will display confirming the stop payment was saved successfully.
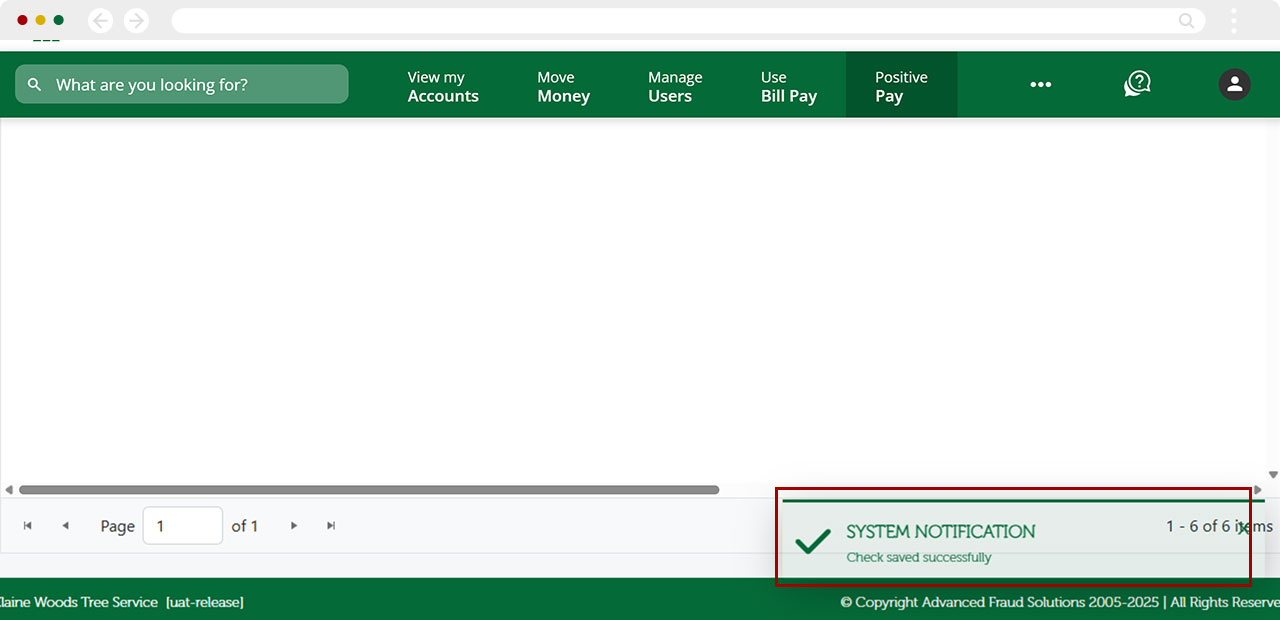
The Stop Payment column will now display Yes for that check.
How to void an issued check
From the top menu, select Positive Pay.
From the top Positive Pay menu, select Issued Checks.
Scroll to the right using the scroll bar at the bottom of the screen. Locate the issued check you want to edit, then select Edit.
Note: You may need to scroll down to access the horizontal scroll bar, depending on your screen size or display settings.
Switch the Voided Check? toggle to Yes.
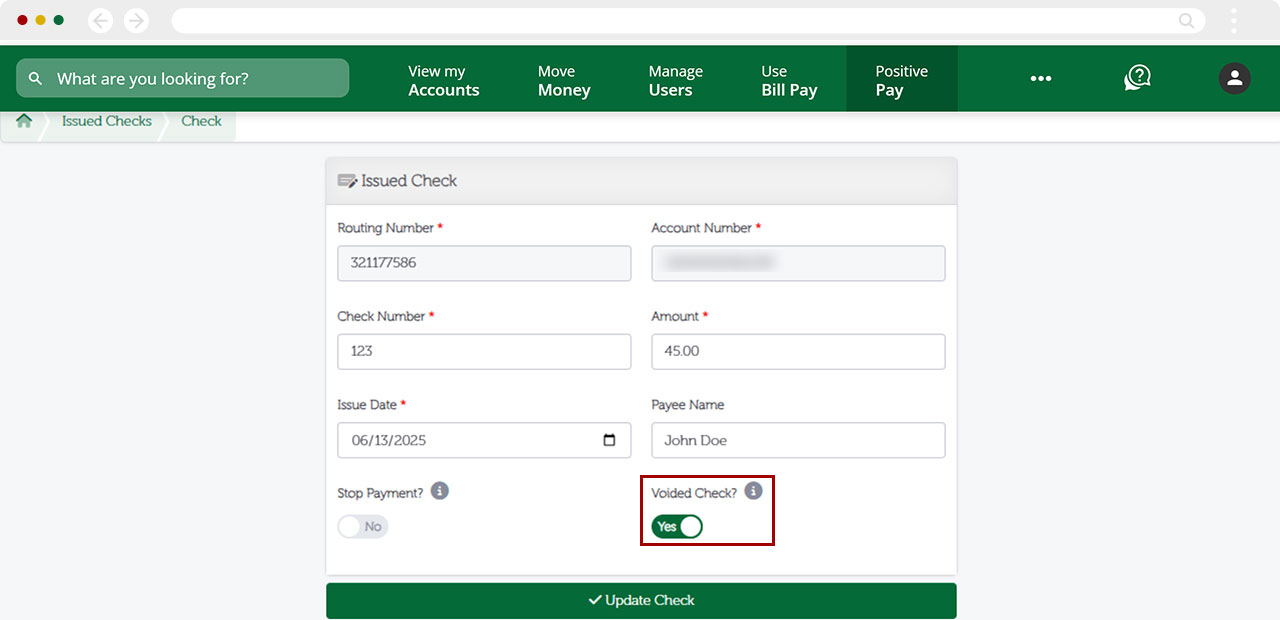
Select Update Check.
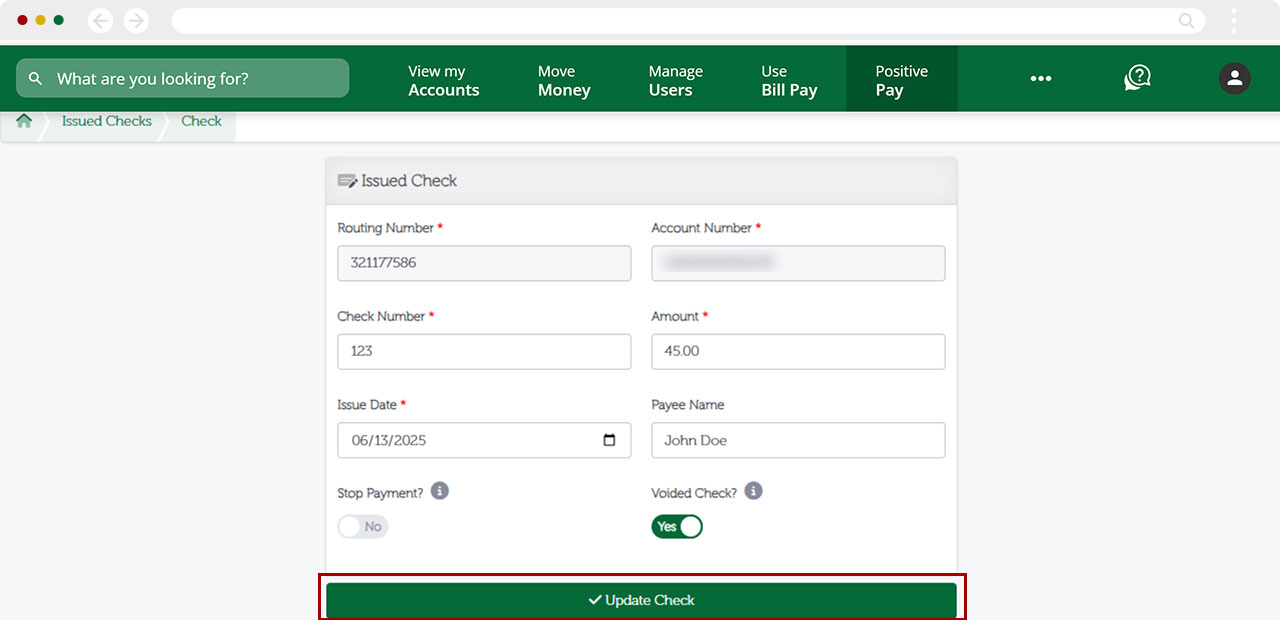
A banner will appear confirming the check was successfully voided.
The Voided Check column will now display Yes for that check.